As the business manager of Fairwill Display, I understand the importance of maintaining our glass showcases. It’s essential to know how to remove the glass from the showcase, whether it’s for cleaning, replacement, or repair, this skill is vital. In this article, I’ll guide you through the process step-by-step.
Table of Contents
ToggleSafety First
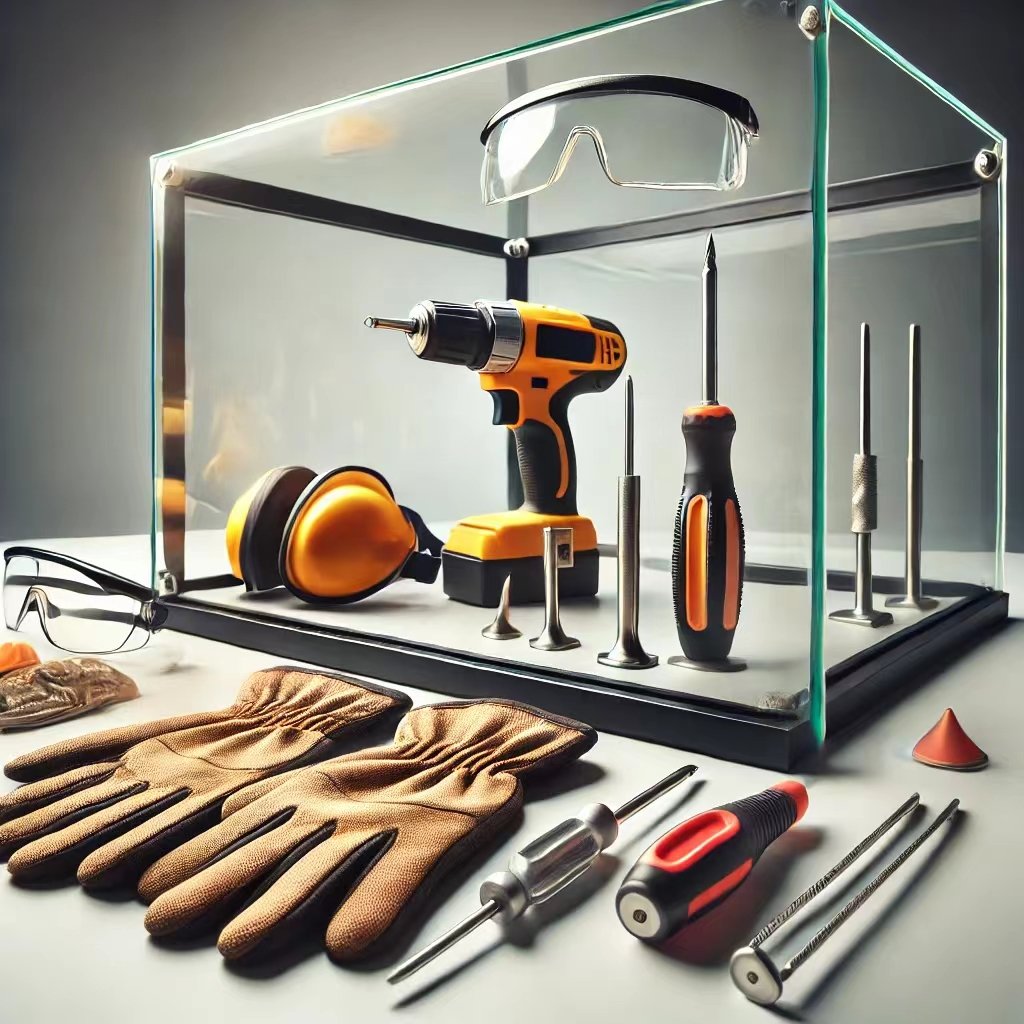
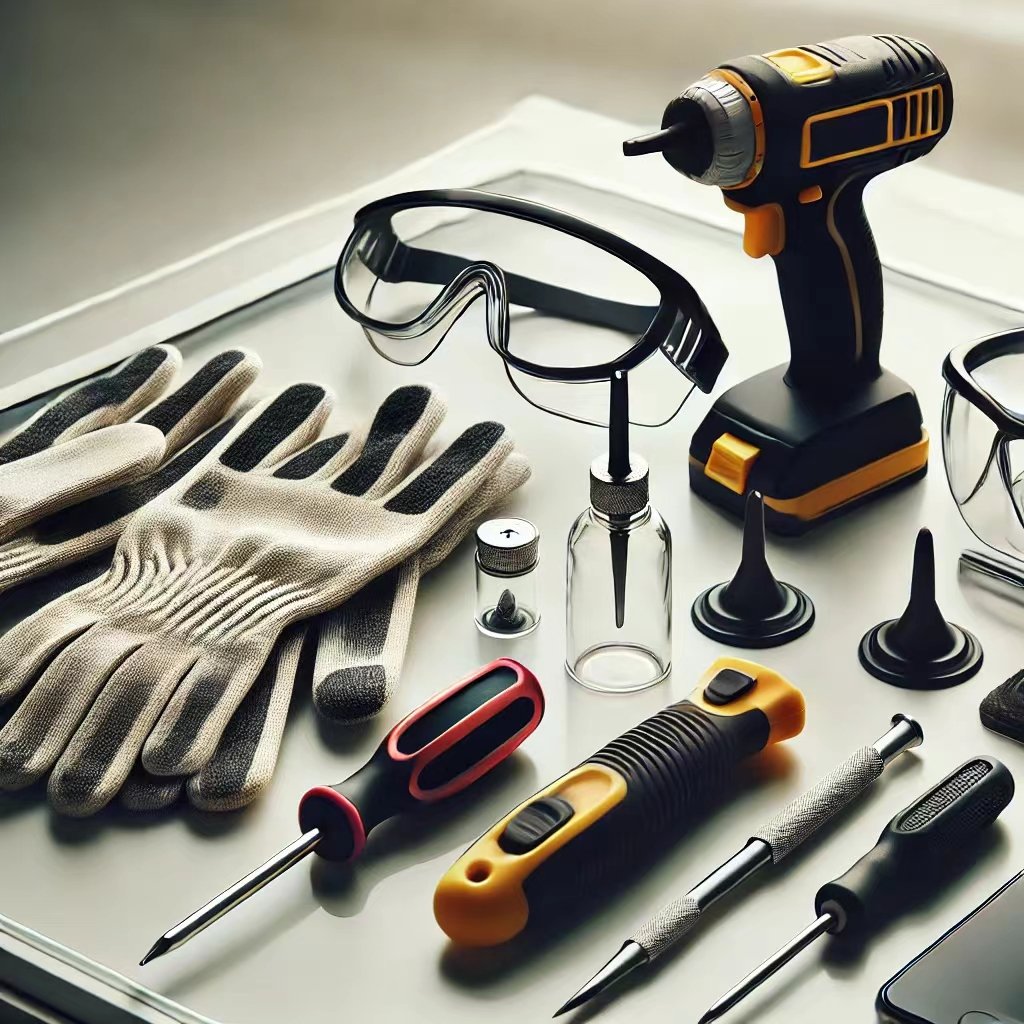
F, gather all the necessary tools. You’ll need a pair of sturdy gloves, safety goggles, a screwdriver, and suction cups. Each of these items plays a vital role in protecting you from potential injuries.
First, wearing gloves is essential. Glass, even tempered glass, can have sharp edges. Handling it without gloves can lead to cuts and other injuries. Choose gloves that fit well and provide a good grip. This will help you manage the glass more effectively. Next, safety goggles are a must.
A cluttered area increases the risk of accidents. Clear away any unnecessary items and ensure you have enough room to move around the showcase freely. Proper lighting helps you see what you’re doing, reducing the chances of making mistakes.
A screwdriver that fits the screws on your showcase will prevent slipping and potential damage. Suction cups provide a secure grip on the glass, allowing you to lift and move it safely. Having an extra pair of hands can make the process safer and more manageable. Communication is key – coordinate your movements to avoid mishaps.
Step 1: Empty the Showcase
Begin by removing all items from the showcase. This step is essential and serves as the foundation for the entire process. Emptying the showcase prevents any accidental damage to the contents and provides clear access to the glass panels.
First, assess the items inside the showcase.
Categorize them based on their fragility and value. Use both hands to gently lift each item, ensuring you don’t apply too much pressure. If you’re dealing with heavier items, consider using gloves to improve your grip and avoid slipping.
After categorizing the items, create a safe space to place them. Lay down a soft cloth or towel on a nearby table or surface. This precaution protects the items from getting scratched or damaged. If you have a large number of items, consider using boxes or containers lined with soft material. Label these containers to keep everything organized, making it easier to return items to their proper places after the glass removal process.
Next, start removing the items one by one.
Begin with the larger and more prominent items. This approach clears space and makes it easier to handle smaller, more delicate pieces. For very fragile items, consider using bubble wrap or tissue paper for additional protection. This extra layer of safety can prevent accidental bumps or drops.
As you empty the showcase, take the opportunity to inspect each item. Document any findings and consider setting aside damaged items for repair.
Use a gentle touch and take your time. If you have a lot of small items, consider using a tray or shallow container to transport them safely. This method reduces the risk of dropping or misplacing any items.
Ensure there are no remaining items, and check for any small pieces or debris that might have been overlooked. With the showcase empty, you now have clear and unobstructed access to the glass panels. This clarity is crucial for the next steps. It allows you to see all screws, brackets, or fittings that need to be removed.
Remove any obstacles that might hinder your movement or pose a tripping hazard. It allows you to focus solely on the task at hand without worrying about potential accidents.
By carefully and methodically emptying the showcase, you set the stage for a successful glass removal process. This foundational step ensures that you can proceed with confidence, knowing that all items are safe and secure. At Fairwill Display, we believe that proper preparation is key to maintaining the quality and integrity of your showcases.
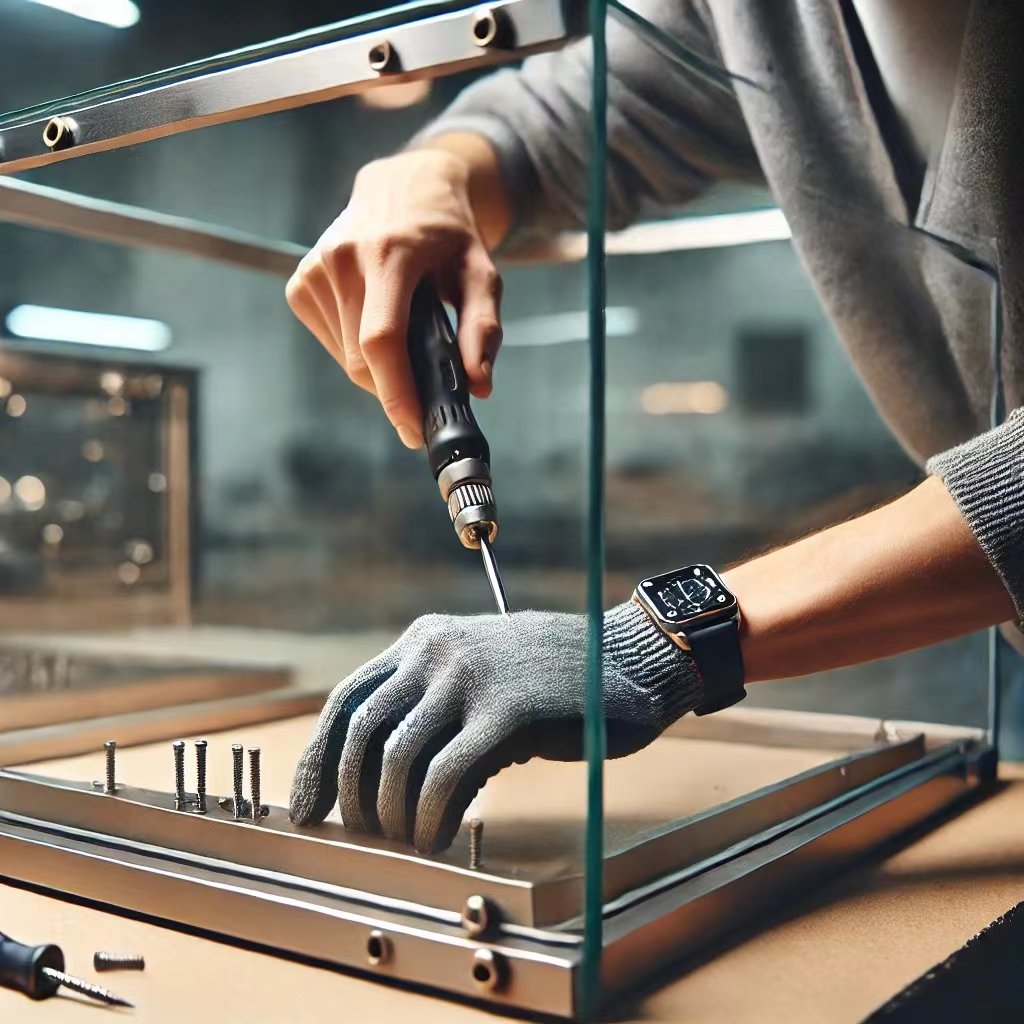
Step 2: Remove the Screws
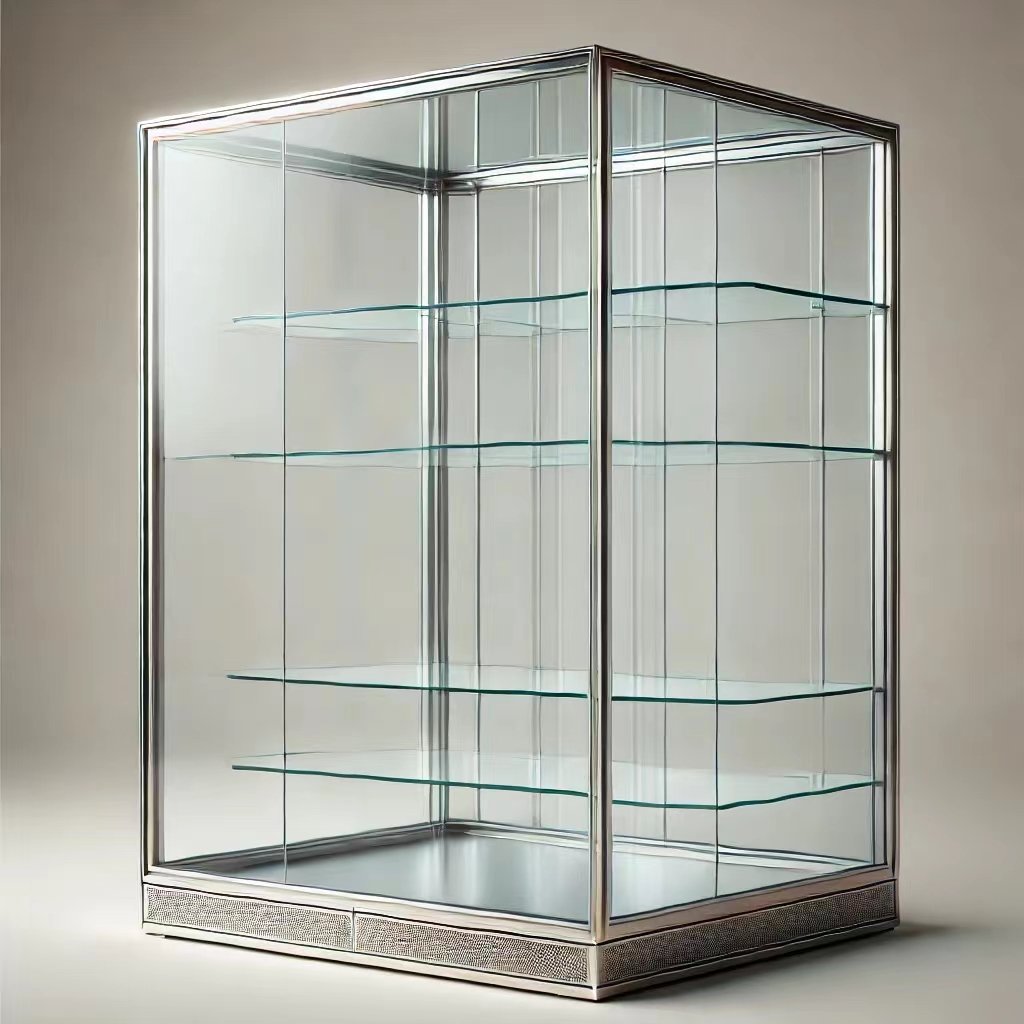
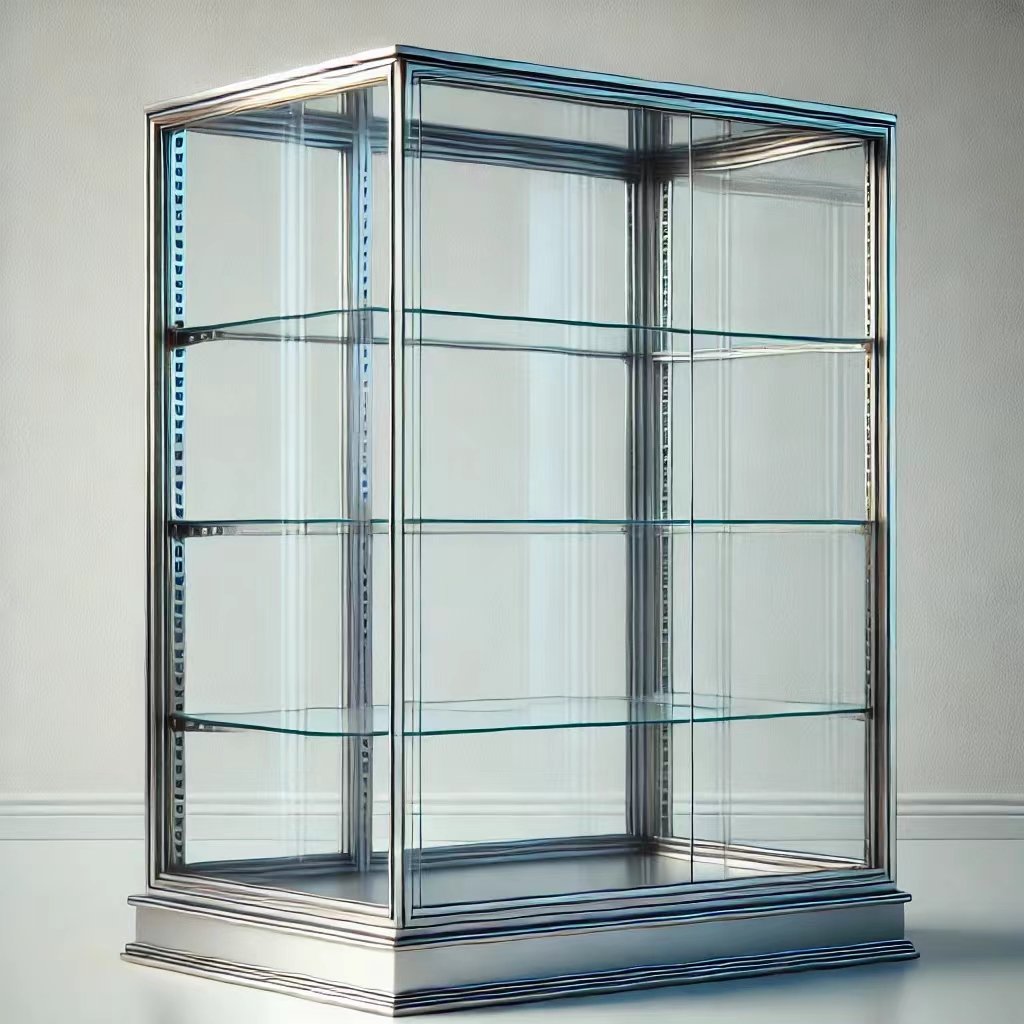
Removing the screws from your glass showcase is a crucial step in the process of removing the glass. This step ensures that the glass panel is free to be lifted out safely and without any hindrance. Let’s delve into the details of this step to ensure you handle it with precision and care.
First and foremost, it’s important to locate the screws that are securing the glass.
These screws are integral in holding the glass panel securely in place. To begin, examine the top frame of your showcase and identify the screws. Depending on the design, there might be screws on the sides as well. Take your time to ensure you have located all the screws.
Ensure you have a suitable screwdriver that matches the screw heads. Using the correct screwdriver is essential to avoid stripping the screws or damaging the screw heads. A stripped screw can be challenging to remove and may require additional tools or methods.
Now, let’s proceed with the actual removal of the screws. Begin with the screws on the top frame. Position your screwdriver at the head of the first screw and turn it counterclockwise. Apply steady, even pressure to avoid slipping. Carefully take the screw out and place it in your designated container or tray. Repeat this process for all the screws on the top frame.
After you have removed the screws from the top frame, move to the screws on the bottom frame. The process is the same: position your screwdriver, turn counterclockwise, and remove the screws one by one. Ensure each screw is placed in your container or tray immediately after removal to keep everything organized. Ensure there are no remaining obstructions or loose components. Using damaged screws can compromise the stability and safety of your glass showcase.

Step 3: Use Suction Cups
Suction cups are an effective and secure method of handling glass. This step requires careful attention and patience to ensure the glass is removed without any damage.
Selecting the Right Suction Cups
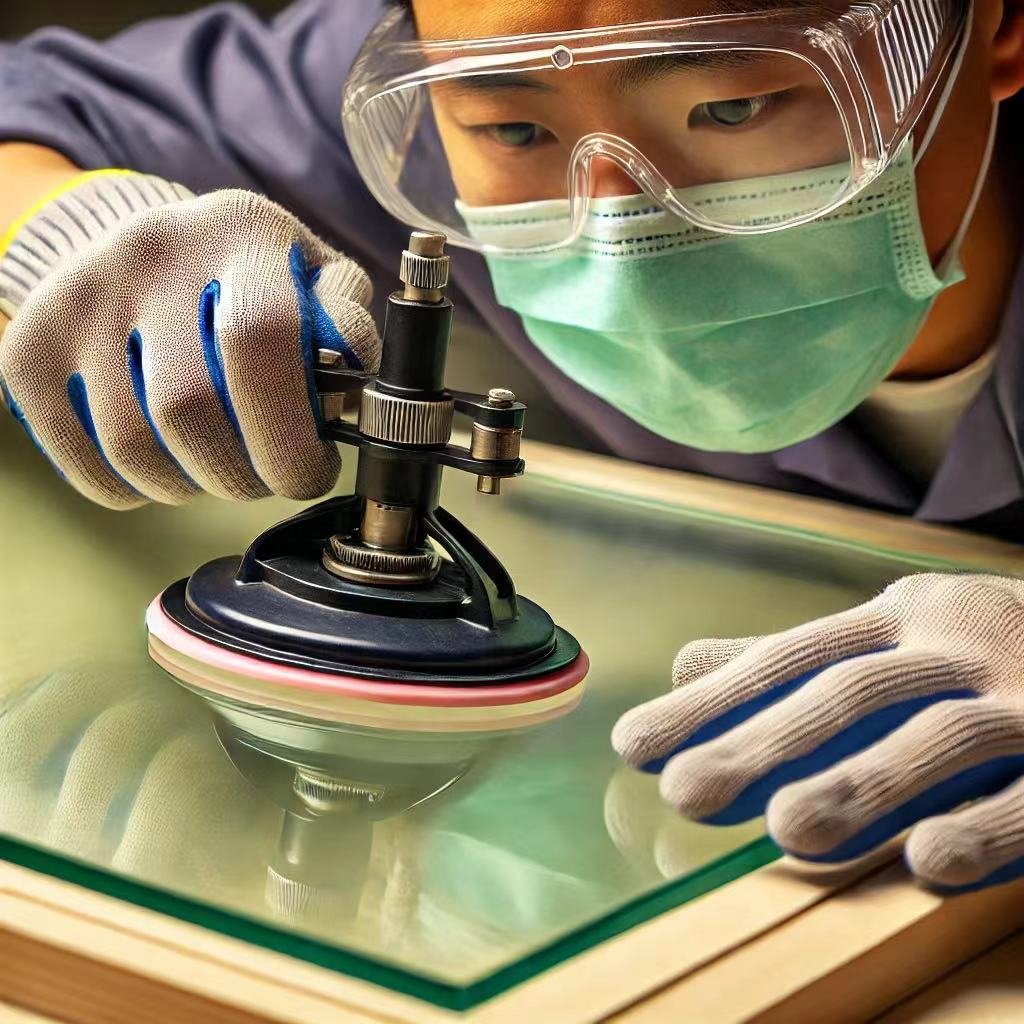
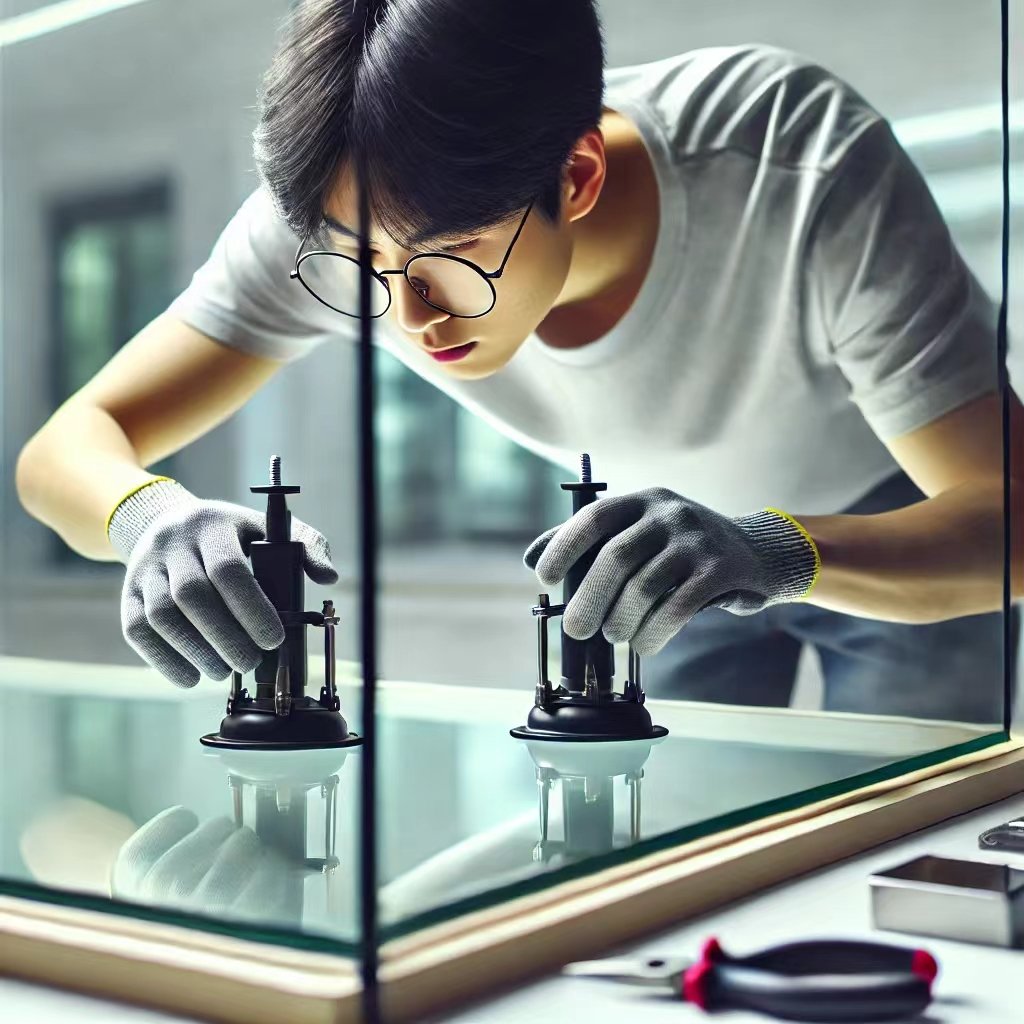
Not all suction cups are created equal. For our tempered glass showcases, we recommend using high-quality suction cups that can handle the weight and size of the glass. Look for suction cups with a strong grip and a diameter suitable for your glass panels. Ensure they are clean and free from any debris that could affect their suction power.
Preparing the Glass Panel
Start by cleaning the glass surface where you’ll attach the suction cups. Use a soft, lint-free cloth to wipe down the area. Any dust or grease can reduce the effectiveness of the suction cups. A clean surface ensures a strong, reliable grip.
Attaching the Suction Cups
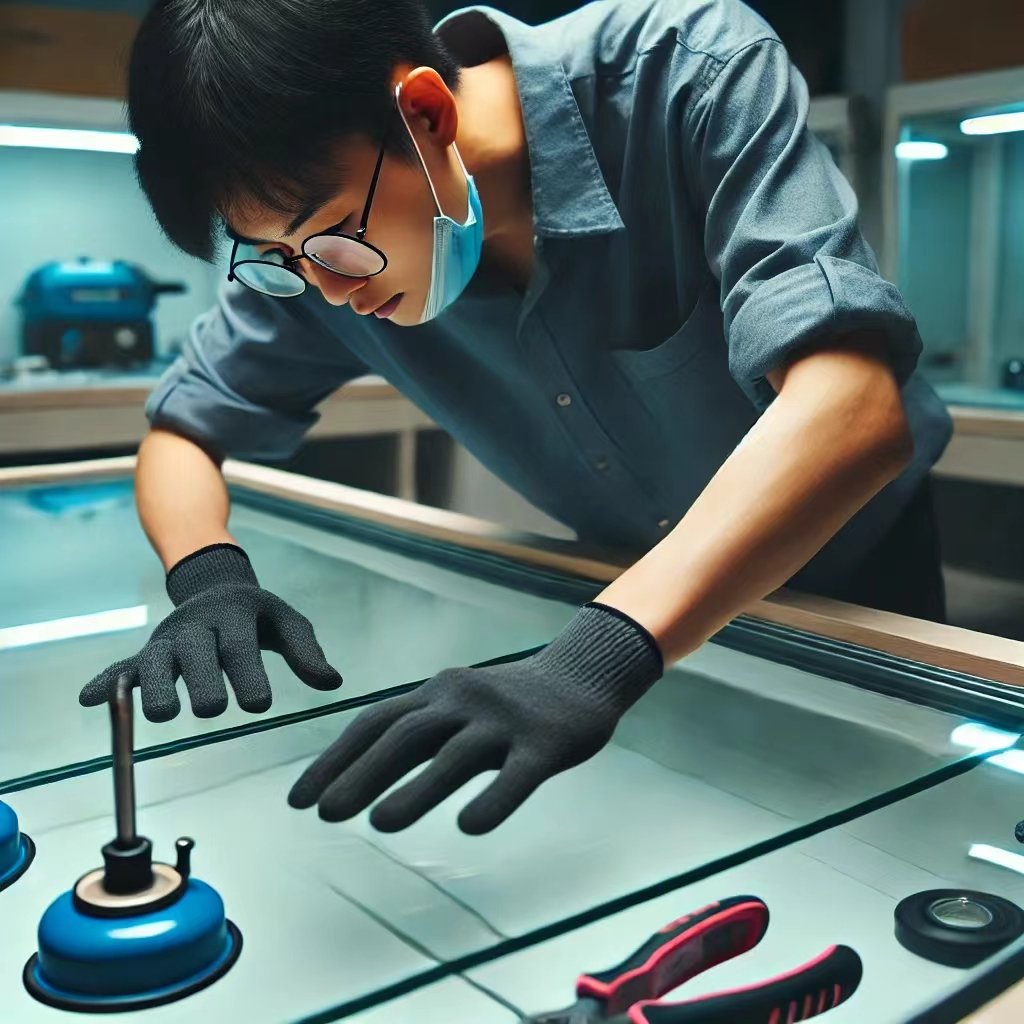
Next, firmly attach the suction cups to the glass panel. Place them strategically near the top and bottom edges of the glass. Avoid placing them too close to the corners, as this can create uneven pressure and increase the risk of cracking. Press the suction cups firmly against the glass, ensuring there are no air bubbles. Check the suction by gently tugging on the cups. They should be held securely without slipping.
Lifting the Glass Panel
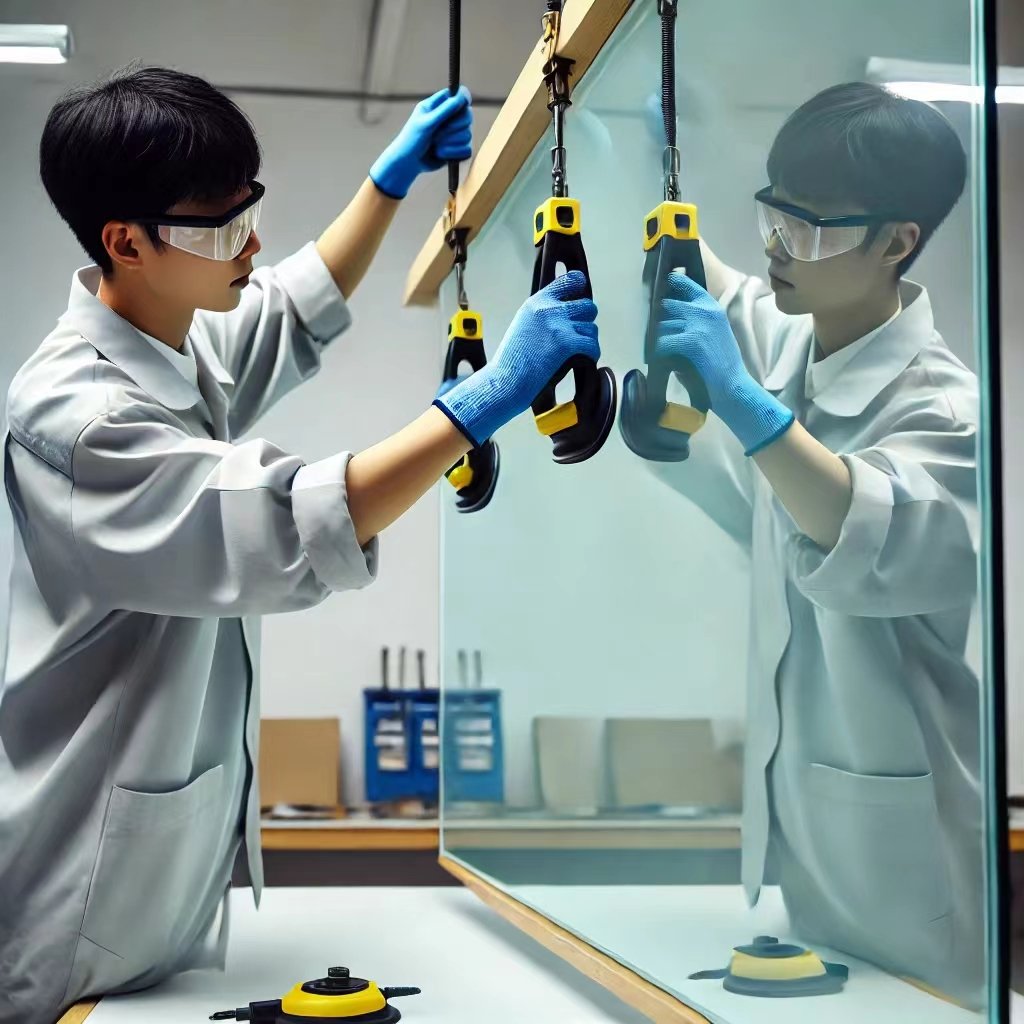
With the suction cups securely attached, you can now lift the glass panel. This step requires a steady and controlled approach. Stand in front of the showcase and use both hands to hold the suction cups. If the glass panel is large or heavy, it’s advisable to have a second person assist you. Communicate clearly with your helper to coordinate your movements.
Applying Steady Pressure
Begin lifting the glass by applying steady, even pressure. Avoid sudden movements or jerks. Lift the panel slowly and carefully away from the frame. The suction cups will help distribute the weight of the glass evenly, reducing the risk of stress points that could cause cracks. Take your time with this process to ensure the glass remains intact.
Handling the Glass Panel
If you need to place it down, choose a flat, cushioned surface to avoid any impact damage. It’s best to lay the glass on a soft blanket or foam padding. If you’re working in a tight space, clear a path beforehand to move the glass panel safely. Always keep the glass upright to minimize stress on its surface.
Releasing the Suction Cups
To release the suction cups, gently lift the tabs or edges to break the suction seal. Do this slowly to prevent any sudden movements that could jostle the glass.
Conclusion of Step 3
Using suction cups to remove the glass from a showcase is a methodical process that prioritizes safety and care. By selecting the right suction cups, preparing the glass surface, and lifting with controlled movements, you can efficiently remove the glass without damage. This step is crucial for maintaining the integrity of your glass showcases, ensuring they continue to display your products beautifully and securely.

Step 4: Remove the Glass Panel
With the suction cups firmly attached, the next critical step is to remove the glass panel from the showcase. This process demands caution, precision, and a steady hand to ensure that the glass is safely handled and remains intact. Here’s an in-depth guide to help you navigate this essential task.
Preparing Your Workspace
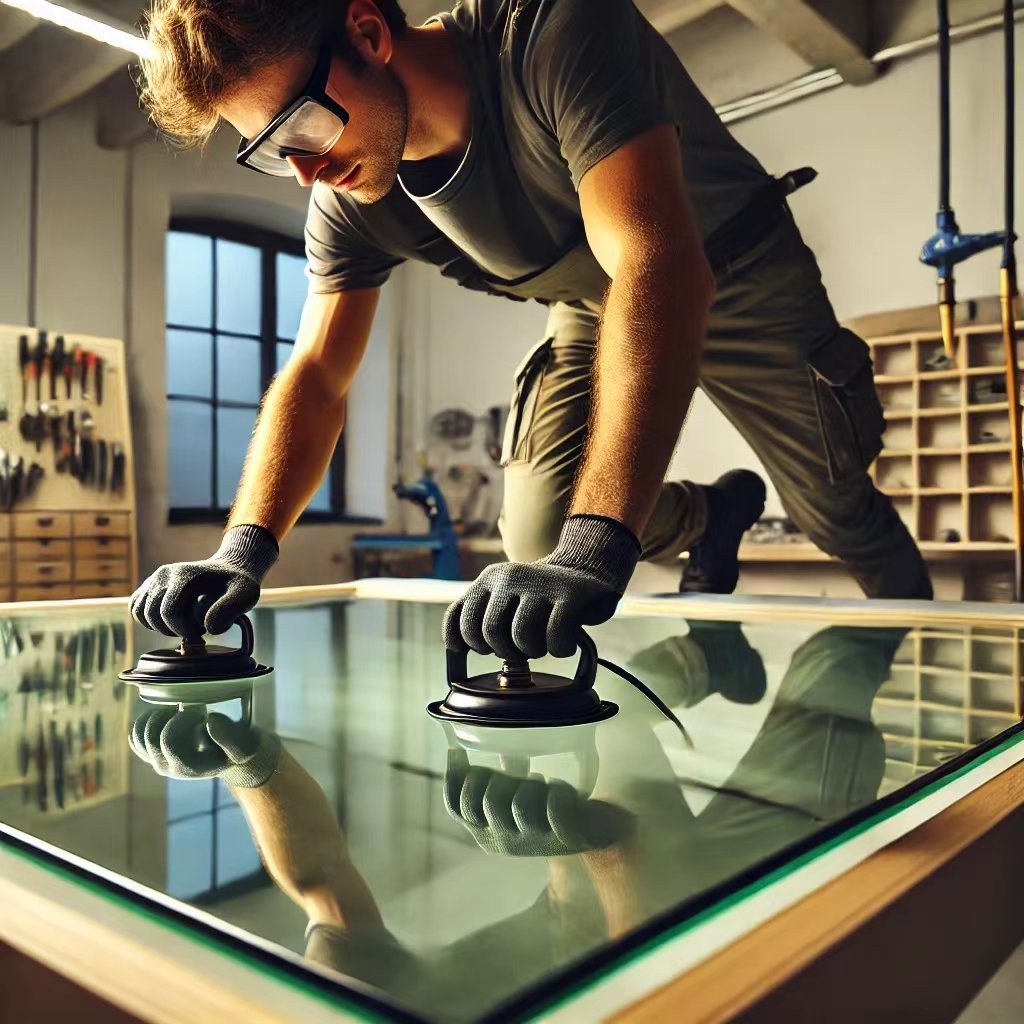
Clear the surrounding area of any obstacles that could impede your movement or pose a hazard. Lay out a soft, padded surface nearby where you can safely rest the glass. This could be a blanket, foam padding, or any other cushioned material that prevents the glass from coming into contact with hard surfaces.
Coordinating with a Helper
If the glass panel is large or heavy, it’s wise to enlist the help of a second person. Coordinating with a helper ensures the glass is lifted evenly and reduces the risk of accidents. Communicate clearly with your helper about the plan. Clear communication is key to a successful and safe removal.
Initial Lift
Begin the removal process by gently lifting the glass panel using the suction cups. Apply steady, even pressure to avoid sudden jerks or uneven lifting. The goal is to lift the glass just enough to disengage it from the frame. If the glass feels stuck, do not force it. Forcing the glass could result in cracks or breakage.
Placing the Glass Panel
Carefully carry the glass panel to the pre-prepared padded surface. Move at a steady pace, and communicate with your helper to ensure synchronized movements. If you need to rest the glass panel horizontally, ensure the padded surface fully supports its weight to avoid any undue stress on the glass.
Maintaining Safety Protocols
Throughout the process, maintaining safety protocols is paramount. Always wear gloves and safety goggles to protect yourself from potential injuries.
Conclusion of Step 4
Removing the glass panel from a showcase is a delicate task that requires careful planning and execution. By preparing your workspace, coordinating with a helper, and using a methodical approach, you can safely and efficiently remove the glass. Ensuring the glass is handled with care protects it from damage and maintains the integrity of your showcase. AFollowing these steps will help you achieve a successful removal, allowing you to perform necessary maintenance or replacements with confidence.
Step 5: Clean and Inspect the Frame
With the glass panel safely removed, the next step involves cleaning and inspecting the frame. This step is vital to ensure the longevity and appearance of your glass showcase. Let’s delve into the detailed process of cleaning and inspecting the frame.
Preparing the Cleaning Supplies
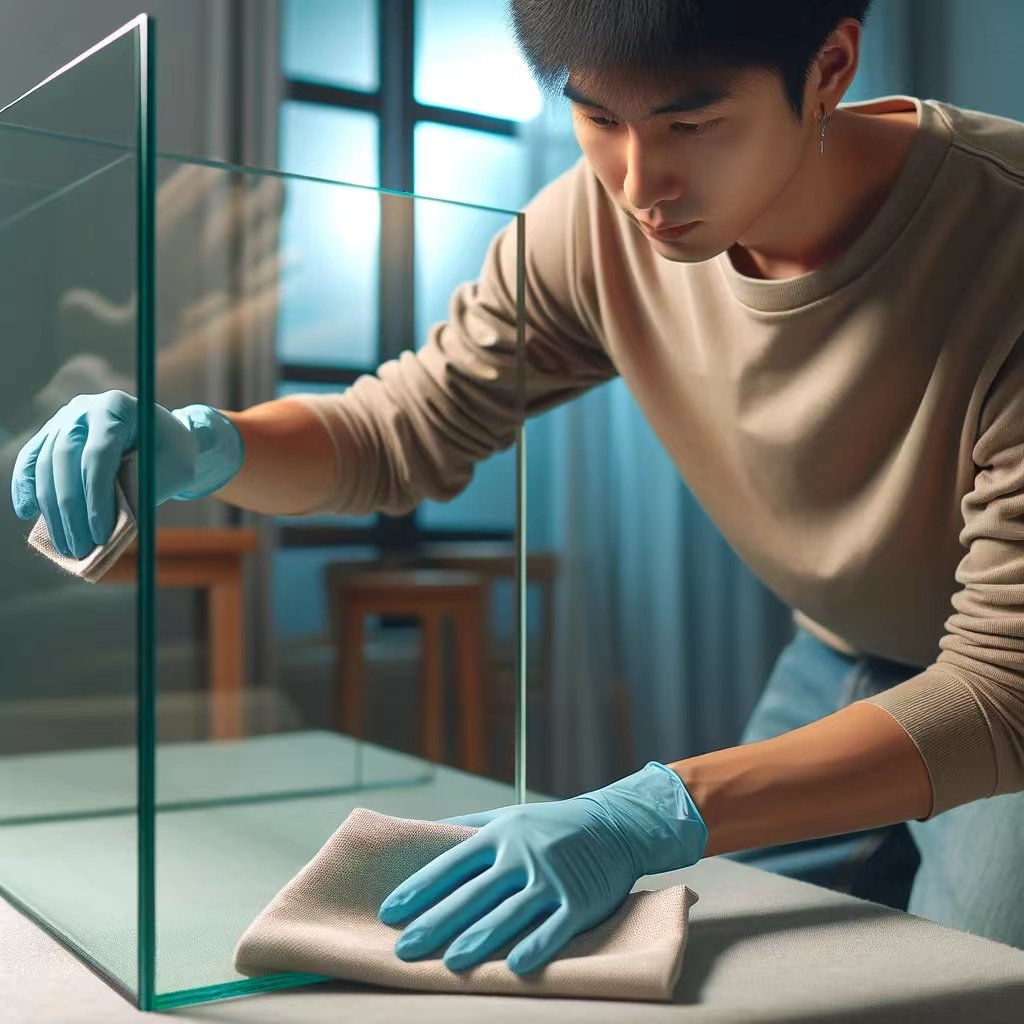
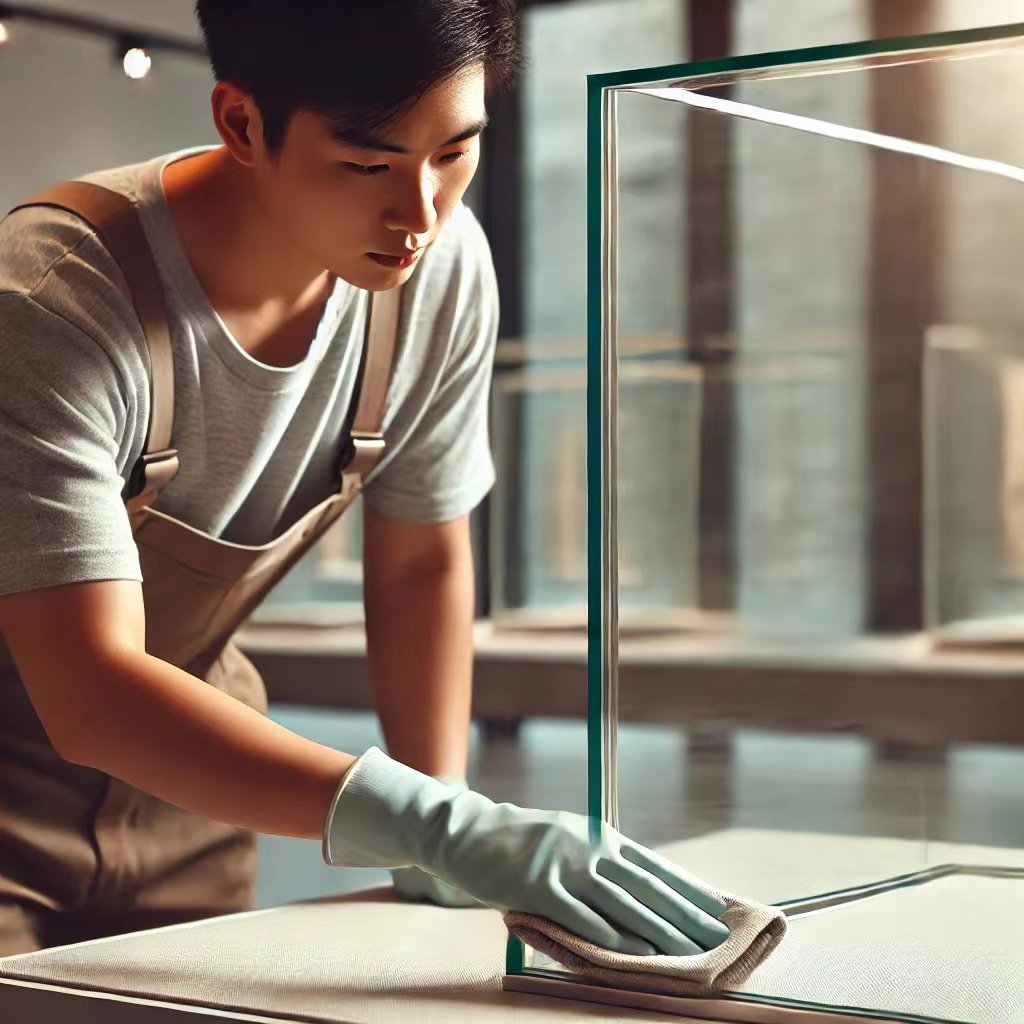
To start, gather all necessary cleaning supplies. You’ll need a soft cloth, a gentle cleaner, and a small brush for detailed work. Avoid using harsh chemicals or abrasive materials as they can damage the frame. If your frame is made of metal, a mild soap solution works well. Ensuring you have the right supplies beforehand will make the process smoother and more efficient.
Cleaning the Frame
Begin by dusting the frame with a dry, soft cloth. Next, dampen your cloth with the gentle cleaner and wipe down the entire frame. Pay extra attention to corners and edges where dirt tends to accumulate. For intricate designs or hard-to-reach areas, use a small brush to clean thoroughly. Regular maintenance of the frame keeps it looking new and prevents the buildup of grime.
Checking the Hardware
After cleaning and inspecting the frame, don’t forget to check the hardware. Screws, hinges, and brackets should be secure and free from rust or wear. Tighten any loose screws and replace any damaged hardware. Well-maintained hardware ensures that the frame remains sturdy and capable of supporting the glass panel. Regularly checking and maintaining the hardware extends the life of your showcase.
Polishing the Frame
For a finishing touch, consider polishing the frame. Use a polish suitable for the material of your frame. A polished frame contributes to a professional and polished display.
Inspecting the Frame’s Alignment
Misalignment can cause stress on the glass and lead to cracks or breaks. Use a level to check that the frame is straight and adjust if necessary. Proper alignment ensures that the glass fits securely and evenly within the frame, providing a stable display for your products.
Maintaining the Frame Over Time
Consistent maintenance is key to the longevity of your showcase frame. Establish a routine cleaning schedule to keep the frame in top condition.
Conclusion of Step 5
Cleaning and inspecting the frame is a crucial step in maintaining your glass showcase. It ensures that the frame remains sturdy, attractive, and capable of supporting the glass panel. By using the right cleaning supplies, thoroughly inspecting for damage, and maintaining the hardware, you can prolong the life of your showcase and keep it looking its best. Regular maintenance and attention to detail are the keys to a professional and appealing display.
A well-maintained frame speaks volumes about the quality and care put into your business, leaving a positive impression on your customers and clients.
Step 6: Reinstall or Replace the Glass
This step is critical to ensuring the showcase remains functional and aesthetically pleasing. Properly reinstalling or replacing the glass requires attention to detail and careful handling to avoid damage. Here’s a comprehensive guide to help you through the process.
Choosing the Right Replacement Glass
If you need to replace the glass, start by selecting the appropriate type of glass. Our showcases typically use tempered glass, known for its strength and safety. Ensure the new glass matches the dimensions of the original panel. Accurate measurements are crucial for a perfect fit. If unsure, consult with a glass supplier to get the exact specifications. They can provide you with glass that meets the required standards and dimensions.
Preparing the Frame
Clean it thoroughly to remove any dust, dirt, or old adhesive. Use a soft cloth and a mild cleaner to avoid damaging the frame’s surface. Check for any signs of wear or damage. A clean, well-maintained frame ensures the glass will fit securely and look aesthetically pleasing.
Positioning the Glass Panel
Begin by carefully positioning the glass panel near the frame. Use the suction cups to handle the glass, ensuring a firm grip. If the glass is large or heavy, having a second person assist you is advisable. Coordinate with your helper to move the glass into place. Align the glass panel with the frame, ensuring it fits perfectly within the designated space. This alignment is crucial for a secure and stable installation.
Securing the Glass
With the glass panel aligned, you can begin securing it in place. Place the screws into their respective holes, ensuring they align with the frame. Excessive force can crack the glass or damage the frame. Tighten each screw gradually, alternating between them to distribute the pressure evenly.
Using Adhesive (If Necessary)
In some cases, you might need to use adhesive to secure the glass. Apply a thin, even layer of glass adhesive around the edges of the frame.additional security and helps prevent the glass from shifting. Be mindful of the curing time required for the adhesive to fully bond.
Final Cleaning
After the glass is securely installed, clean the surface to remove any fingerprints, smudges, or adhesive residue. Use a glass cleaner and a soft cloth to achieve a streak-free finish. Cleaning the glass at this stage ensures your showcase looks pristine and ready for use. Regular maintenance of the glass will keep it looking new and clear, providing an optimal display for your products.
Testing the Showcase
Open and close any doors or panels to ensure they operate smoothly. Check that the glass is stable and does not shift or rattle. Testing the showcase helps identify any potential issues that need to be addressed. This final step ensures the showcase is ready for regular use and provides a secure display for your items.
Conclusion of Step 6
Reinstalling or replacing the glass in your showcase is a meticulous process that requires careful handling and attention to detail. By choosing the right glass, preparing the frame, and securing the panel properly, you can ensure a successful installation. Regular maintenance and proper handling will keep your showcases in top condition, enhancing their longevity and appearance. At Fairwill Display, we prioritize quality and ease of maintenance, making it simple for you to manage and maintain your glass showcases.
Conclusion
Knowing how to remove glass from a showcase is a valuable skill that every showcase owner should master. This knowledge helps maintain the quality and appearance of your display units, ensuring they always look their best. Remember, safety should always be your top priority. With regular maintenance and proper handling techniques, you can extend the life of your glass showcases, keeping them in top condition and showcasing your products beautifully. Thank you for choosing Fairwill Display.
As a supplier of high-quality glass showcases, Fairwill Display is committed to providing you with the best products and support. Knowing how to remove glass from a showcase is just one part of effective showcase management. Keep your displays clean, maintained, and ready to impress.
Thank you for choosing Fairwill Display. We are always here to support your business needs.
