Building small free-standing shelves is simple. As a business manager in store fixtures, I’ll guide you through each step. This guide shares tips, materials, and ideas that help you create shelves that work. To build small free standing shelves, measure your space, choose sturdy materials, and follow simple steps to assemble stable, stylish units.
Table of Contents
ToggleUnderstanding the Purpose of Free-Standing Shelves

Shelves That Add Value to Retail Spaces
Free-standing shelves serve more than just a basic function. In a retail setting, they instantly enhance the way merchandise is presented. They don’t rely on walls for support, so store owners can place them anywhere in the space. That flexibility gives room for creativity and customization. By using them strategically, retailers highlight best-selling or seasonal items near entrances or checkout counters. This tactic draws attention, increases impulse purchases, and maximizes every square foot of store layout.
Moreover, unlike fixed shelves, free-standing units offer freedom to adjust the display layout regularly without additional cost or labor. Every move keeps the customer experience fresh and engaging.
These shelves also support visual merchandising goals. They help store owners tell a story through their displays. From grouping products by color to aligning themes with holiday events, the shelves become visual anchors in the store. They also work well with signs and tags, helping customers understand product details quickly. Many boutique owners use them to feature curated collections or limited-edition items. This setup boosts perceived value.
When customers see products beautifully displayed on solid, clean, and stylish shelves, they are more likely to make a purchase. In the end, the shelves not only hold items—they help drive revenue.
Functional and Flexible in Every Setting
Free-standing shelves fit into almost any business model. From pop-up shops to long-established stores, these shelves provide essential utility. Because they don’t require wall mounting, they adapt well to changing retail spaces. Whether it’s a temporary location or a permanent one, they install and move easily. That reduces labor costs and speeds up store setup time. Additionally, many businesses use them for both front-of-store display and backroom organization.
In boutiques, for example, shelves support everything from clothing accessories to small home goods. For vape or smoke shops, they neatly present pipes, devices, and packaged items. Even salons and showrooms use them for product displays. They also serve well in office environments. Designers often use them in workspaces to organize tools, samples, or documents. In all these settings, shelves improve flow and visibility.
Their presence reduces clutter, making the space look clean and inviting. Retailers appreciate their ability to make small areas feel open yet organized, all while keeping products at customers’ fingertips.
A Smart Investment for Growing Stores
Business owners always look for value in their investments. Free-standing shelves deliver that value by offering long-term utility and professional appearance at a manageable cost. Compared to built-ins, they require fewer installation steps and less time. Many store owners appreciate that benefit during store openings or renovations. They don’t have to wait for custom carpentry or complicated wall reinforcements. That saves days or even weeks of work.
Additionally, they support store expansion goals. As businesses grow, owners need fixtures that scale with them. These shelves stack, reconfigure, and relocate based on evolving needs. If a store opens a second location, it can move shelves from one site to another without needing new fixtures. That flexibility lowers future setup costs. Besides, when shelves are made from durable materials like E1-grade boards and tempered glass, they stand the test of time.
They resist wear, keep their structure, and maintain a clean look even after years of use. For entrepreneurs and wholesalers alike, this makes them a smart long-term choice.
Materials and Tools You’ll Need
Choosing the Best Board Material
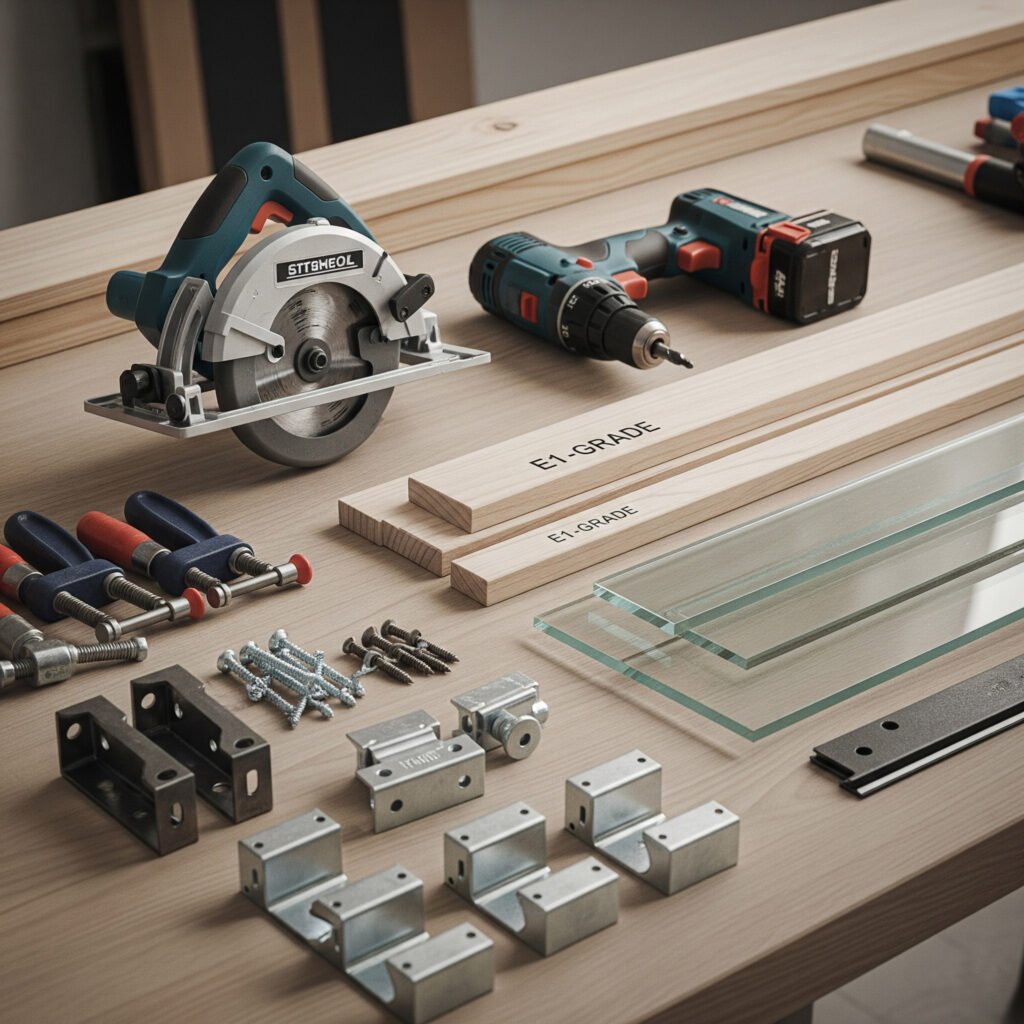
Selecting the right board material is critical for building stable, long-lasting shelves. E1-grade boards stand out due to their safety and eco-friendliness. Unlike regular particle boards, E1 boards emit very low levels of formaldehyde. That makes them ideal for indoor retail environments. They’re also affordable, especially when ordered in bulk from a factory like Fairwill Display. The surface handles paint, laminate, or veneer well, giving you flexibility in the final look.
In comparison, plywood offers strength and durability. It resists warping better than MDF or chipboard. This makes it suitable for heavier loads. Pine or birch solid wood adds a natural finish but may cost more. You should treat softwood to resist damage from moisture or pests. Laminated boards work best for fast, low-maintenance builds. They’re pre-finished, saving you time in painting or sealing.
When budget, quality, and safety all matter, E1 boards often deliver the best value. They’re also easier to source in consistent sizes and colors. For shelf depth, choose at least 25 mm-thick boards for better load-bearing strength. Shelves thinner than that may sag over time.
Reinforcing with Metal and Glass Elements
To enhance both appearance and function, consider adding metal components and tempered glass. Metal tubes or brackets add structure to the frame, especially for taller units. Steel with a powder-coated finish provides strength while resisting rust. Aluminum is lighter and works well for mobile units. Metal trims can also add a modern aesthetic that matches industrial or minimalist retail setups.
Tempered glass serves well for shelf surfaces in boutique or high-end settings. It’s five times stronger than normal glass and breaks into safe, blunt pieces if shattered. That’s crucial for stores where customers interact closely with displays. Use tempered glass for top shelves that hold accessories, perfumes, or electronics. Ensure each glass panel has polished edges for safety.
Corner protectors, edge bands, and rubber feet are small parts that make a big difference. They help prevent damage to floors and make the shelves easier to move without scratching surfaces. Shelf pins, metal fasteners, or adjustable legs can also boost the shelf’s durability, especially in uneven spaces.
Essential Tools for Smooth Construction
Proper tools make the building process faster and cleaner. Start with a reliable measuring tape and carpenter’s square. These ensure accurate dimensions and 90-degree angles. Use a circular saw for large board cuts, and a jigsaw for custom shapes or rounded edges. A hand saw can work for smaller adjustments. Clamps help hold boards steady while drilling or gluing. A power drill, preferably cordless, speeds up the process of creating pilot holes and installing screws.
A screwdriver set with various heads is essential. Use countersink drill bits to hide screw heads neatly beneath the surface. A level ensures that each shelf is aligned and even. Sandpaper or a sanding block smooths the edges and prepares the surface for paint. If you use wood filler, apply it with a putty knife before sanding.
Glue guns, wood glue, or adhesive tapes provide extra bonding strength where screws aren’t ideal. Finally, keep a dust mask and safety goggles on hand. Cutting boards or metal parts create fine particles that can be harmful when inhaled. With these tools, even someone new to DIY can build functional shelves confidently.
Finishing Products That Matter
Once the shelves are built, apply finishing products to protect the surface and extend its lifespan. Paint is the most common finish. Water-based paint dries fast and emits fewer fumes. Oil-based paint gives a smoother texture and more durability, especially for high-traffic stores. Use primer before painting if the board is raw or highly absorbent.
Laminate sheets or vinyl wraps can instantly transform the shelf’s look. They’re also easier to clean and maintain. Stick-on wraps come in various textures, from woodgrain to matte black. Varnish or sealant is essential for wooden shelves placed near doors or windows. These finishes guard against sunlight, moisture, and scratches.
For a polished, retail-ready result, always use two coats of paint or sealant. Lightly sand between coats for a smooth, professional finish. Finishing also includes installing shelf caps, silicone bumpers, or branding stickers. These final touches help the shelves blend with your store’s identity and protect against daily wear.
Planning the Design and Measurements

Measure Your Available Space Precisely
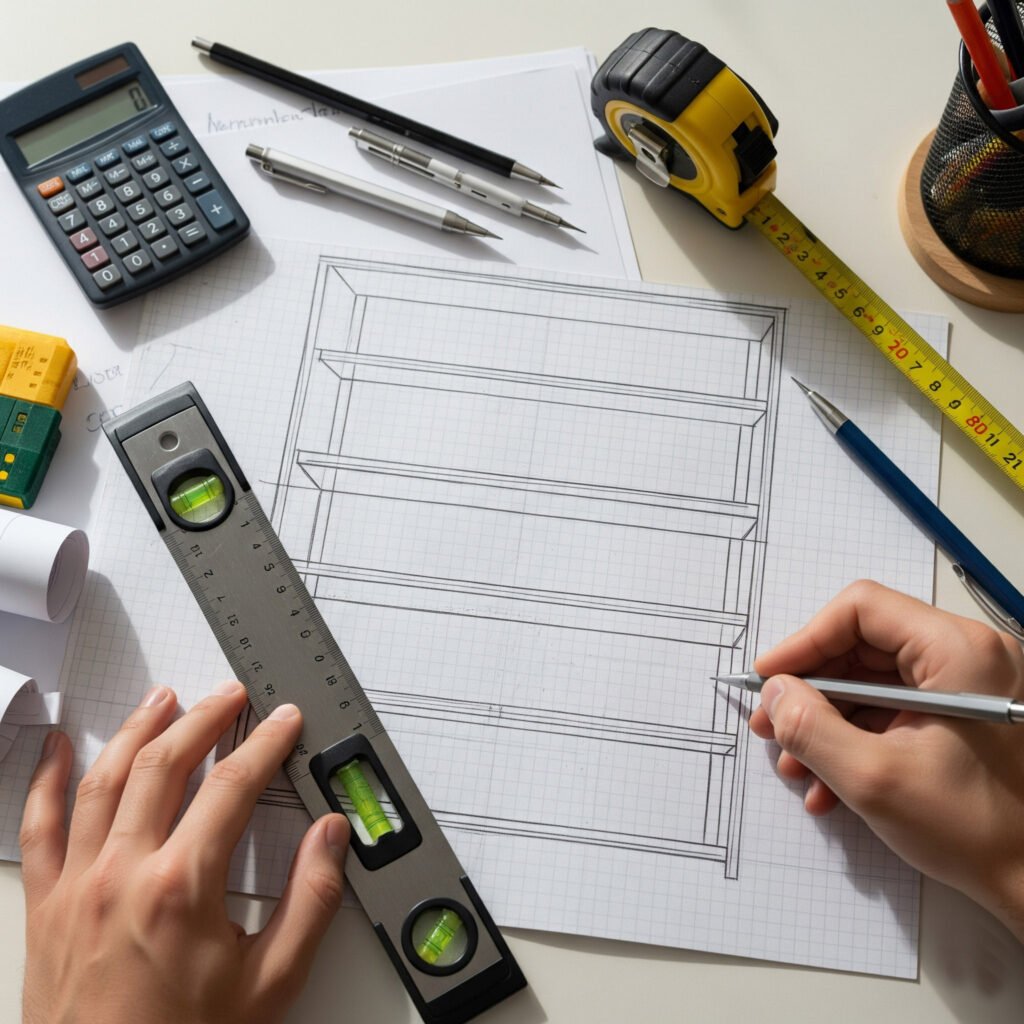
The planning process begins with accurate measurement. Without it, even a well-built shelf won’t fit. Start by identifying the exact location where the shelf will stand. Measure the width, height, and depth of the available area using a tape measure. Avoid rounding numbers. Instead, note every centimeter. Consider leaving some buffer space around the shelf. That prevents overcrowding and allows easy movement. Don’t forget to check the ceiling height if the shelf will stand tall.
Examine nearby walls, doors, and furniture. Make sure there’s enough clearance for access and cleaning. Also, evaluate the floor for levelness. Uneven surfaces can affect stability. Use a level tool if necessary. Mark all measurements on paper and sketch a simple layout. This visual helps spot potential issues before cutting materials.
Determine the Shelf’s Dimensions and Tier Count
Once measurements are in hand, decide how large the shelf should be. Base the height and width on the surrounding area, but also consider product type. A shelf meant for light items needs less depth. For example, skincare bottles or small boxes only need 25–30 cm. Heavier or bulkier items require more space and thicker boards. Determine how many tiers the shelf should have. Three to five levels are common for small freestanding designs. Avoid placing tiers too close together.
A 25–30 cm gap between levels gives enough room to grab or restock items easily. Sketch each tier’s position in your layout draft. Include spacing between each level. This helps visualize item placement. If products vary in size, adjust spacing accordingly. Taller items may need more vertical clearance. Try to balance function and visual flow. An even rhythm of space improves display clarity.
Adapt the Design to Store Needs and Display Goals
Design isn’t only about appearance—it’s also about purpose. Before finalizing the structure, consider what role the shelf will play. Will it sit near a checkout counter to promote impulse buys? Or stand in the middle of the shop as a feature display? Each use demands a different layout. Corner placement may call for angled edges. Middle-floor placement needs full 360-degree visibility. Also, think about accessibility.
Can staff and customers reach every tier easily? Avoid placing the top tier too high. Items placed out of reach rarely sell. Consider who will interact with the shelf. A shelf meant for children’s goods should be lower. One designed for adult or luxury items can stand taller. Layout goals shape every part of the design. Keep it functional and welcoming, not just stylish.
Align Shelf Design with Store Theme and Branding
A shelf should blend in with the store’s identity. Choose shapes, finishes, and colors that reflect the brand. A rustic boutique may suit wooden finishes or vintage-inspired edges. A modern vape shop might favor sleek lines and matte black frames. Look at your store’s existing displays and furnishings. Choose materials and shapes that match. Repeating design elements across the store builds visual unity. Consider color psychology too.
Light colors create an open feel. Darker tones add contrast for highlighting products. Use brand colors subtly on frame edges or backing panels. Keep the design simple but intentional. Avoid clashing styles or over-decorating. Shelves should showcase products, not distract from them. Design decisions should always serve the customer experience.
Step-by-Step Build Instructions
Mark, Cut, and Prepare Components
Start by measuring and marking all panels. Use a pencil and ruler to outline each shelf, frame, and support component. Double-check dimensions before cutting. Use a circular saw or table saw for cleaner, straighter cuts. Avoid rushing, as accurate cuts make later assembly much easier. After cutting, sand all edges using medium-grit sandpaper. That removes splinters and ensures clean joins. When using E1-grade boards or natural wood, sealing the raw edges with edge banding can improve durability.
Labeling each piece also helps with efficient assembly. This saves time during the build phase. Pre-drill holes where screws will go to avoid splitting the material. For glass shelves, order pre-cut tempered glass. Don’t cut it yourself. A hardware supplier can deliver the exact sizes. Wipe every board after sanding to remove dust and improve adhesive grip or paint finish later on.
Assemble the Frame Structure
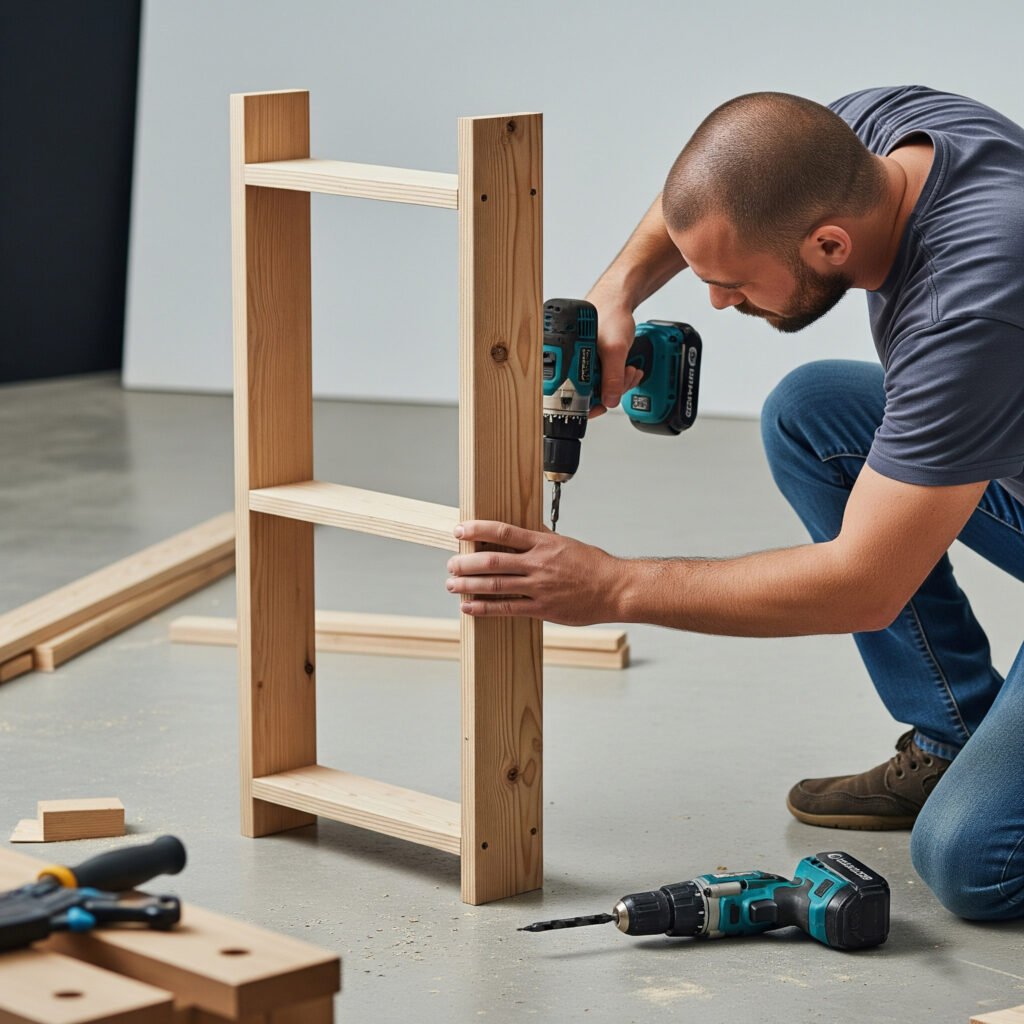
Once the materials are prepped, begin assembling the outer frame. Start by placing the base panel flat on the ground. Position the two side panels vertically at each end of the base. Use clamps to hold them upright. Then, drill pilot holes and screw the sides to the base. Next, fix the top panel in place. This locks the rectangular structure. Using a level throughout this step helps ensure balance and symmetry. Reinforce each corner with L-brackets if needed. These add stability and reduce sway.
Once the basic frame stands upright, check every angle and tighten each screw. If the structure wobbles slightly, adjust the screw tension or brace with temporary supports. Keeping the frame sturdy now makes shelf installation smoother. Don’t forget to attach the back panel if your design includes one. It improves structural integrity and can also enhance the appearance from behind.
Insert Shelves and Reinforcements
After the frame is stable, mark the height of each shelf tier on both sides. Measure carefully to keep all levels even. Drill holes for the shelf supports, either wooden cleats or metal brackets. Fix these supports on both sides before placing the shelves. Slide the shelf boards onto the supports and secure them with screws from the sides or bottom. If using glass shelves, place rubber or silicone pads on brackets first to avoid direct contact. For wooden shelves, additional center braces may be useful for longer spans.
These stop bowing over time. Use dowels or corner braces for added strength under the shelf boards. Recheck all screw placements and bracket alignments. Every shelf should sit flat and carry weight evenly. At this stage, the entire unit should feel solid. Make minor adjustments as needed to ensure nothing shifts or leans.
Apply Finishing Touches
With assembly complete, focus on the finish. Start by filling any gaps or screw holes with wood filler. Let it dry and sand it smooth. Then, wipe down all surfaces with a clean, dry cloth. Choose your preferred finish—paint, stain, or laminate. Apply primer if using paint. That ensures better adhesion and a longer-lasting coat. Two thin coats work better than one thick coat. Let each layer dry completely before adding the next. If using a laminate sheet, apply adhesive evenly and use a roller to press it flat.
Trim excess with a utility knife. For glass shelves, clean both sides with alcohol or glass cleaner. Install them gently to avoid scratching. Add rubber feet or leveling pads to the base. This protects your floor and keeps the shelf unit balanced, especially on uneven surfaces. Finally, test the entire structure by gently shaking it. If it feels firm and stands evenly, the build is complete and ready for display use.
Why Fairwill Display
Factory-Direct Prices with Global Reach
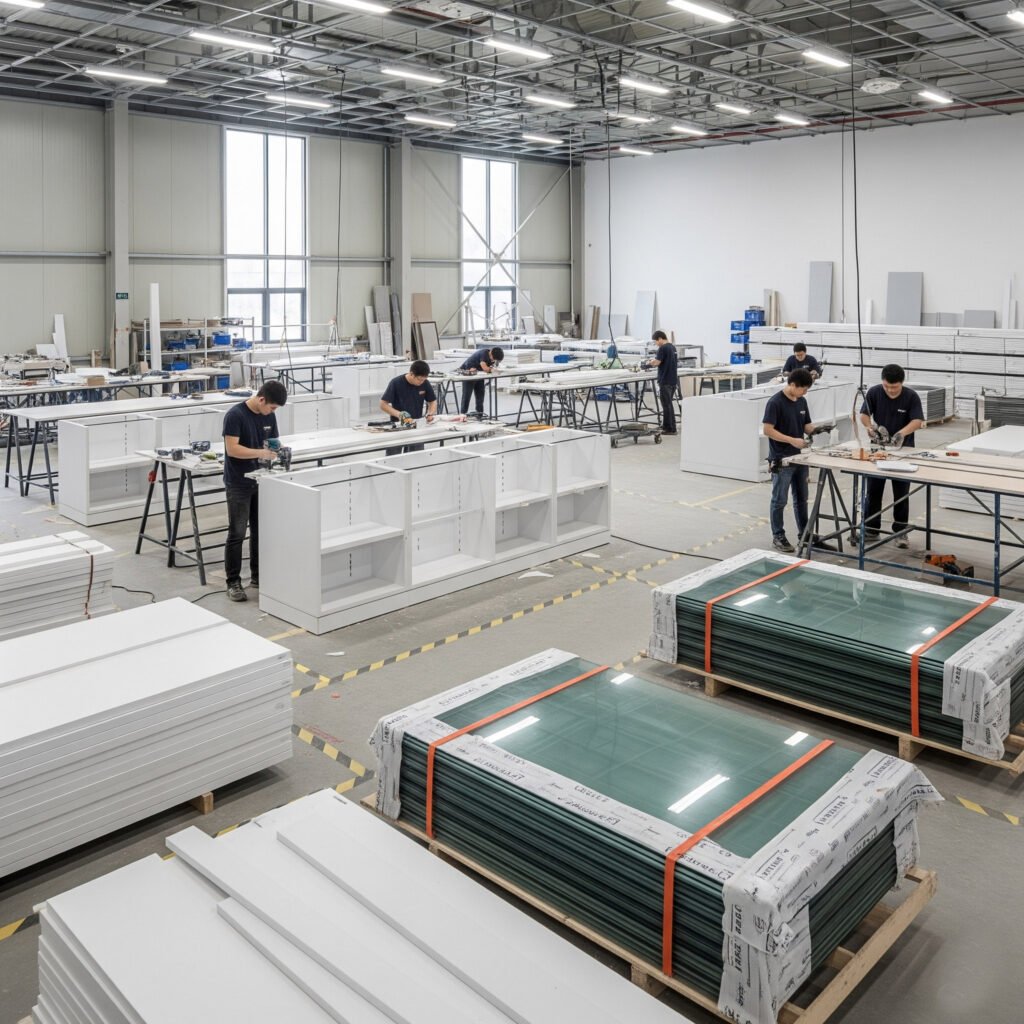
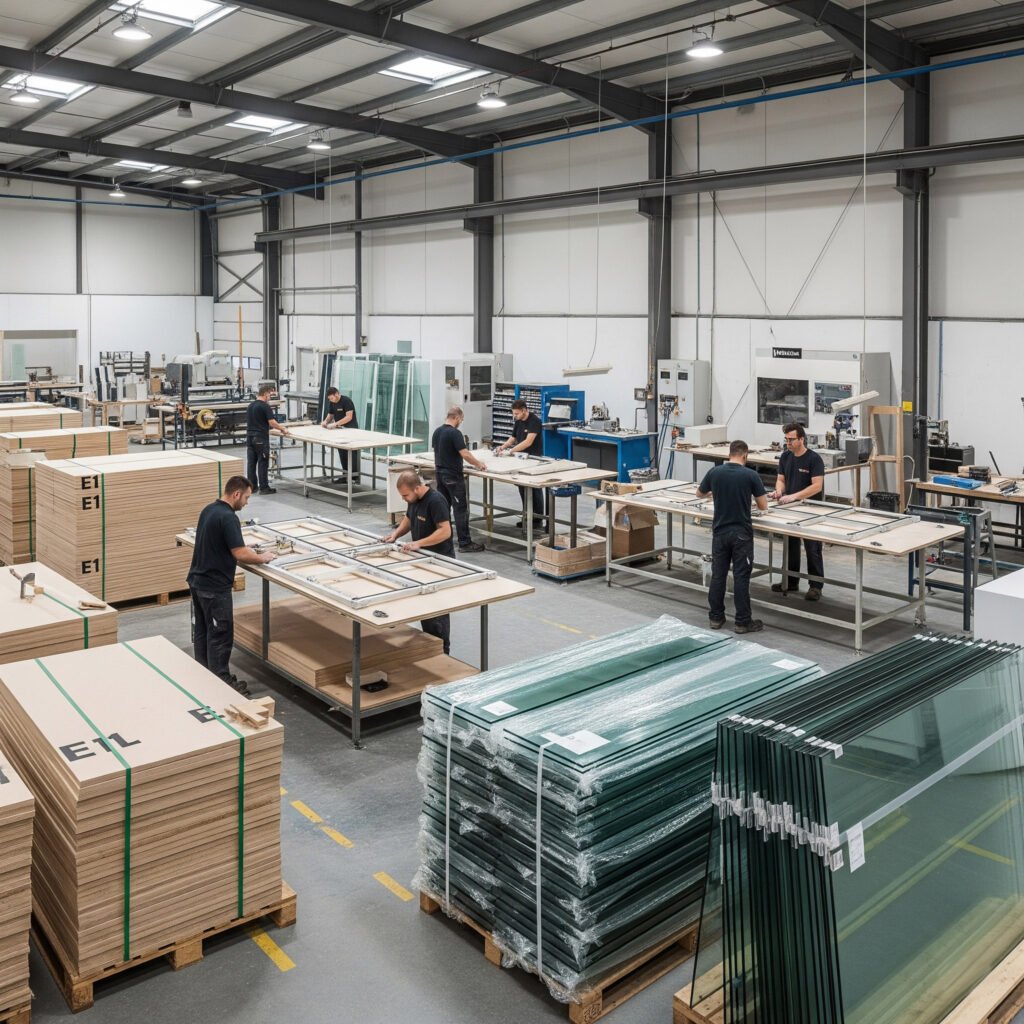
Working with Fairwill Display means I access factory-direct pricing. That reduces costs immediately. Without middlemen, every dollar I spend brings more value. For a business like mine that operates on tight budgets, that difference matters. I get quality store fixtures that meet my expectations, yet I stay well within budget. This allows me to invest more in store design and less in sourcing products.
Moreover, the factory isn’t just local—it’s built for global delivery. Shipping to Sweden, the USA, or Australia is fast and smooth. Packaging is done professionally. Orders arrive safely and consistently. That gives me peace of mind. I no longer worry about missing deadlines or receiving damaged goods. Logistics matters in retail, and Fairwill Display handles that part with precision.
By combining scale with smart cost control, they allow smaller businesses like mine to compete with larger chains. I can now upgrade my store without overspending. And because they ship globally, I don’t need to find multiple suppliers for different locations.
Strong Materials That Last
One major reason I continue choosing Fairwill Display is the durability of their materials. They use E1-grade boards. That ensures my display shelves are both strong and safe. Formaldehyde emissions stay low, which matters in regulated markets like Europe. Customers notice this detail, even if they don’t always talk about it. It helps me protect my brand’s image.
Tempered glass is another standout. It’s much tougher than regular glass and resists cracking. That means fewer replacements. In retail, accidents happen—bags bump shelves. Customers lean on fixtures. Having durable display cases helps me avoid damage and repair costs. It’s a smart investment that pays off long term.
Even the hardware—hinges, locks, screws—feels reliable. That’s not something I say lightly. Many suppliers try to cut corners here. But Fairwill Display uses better fittings. Drawers slide smoothly. Doors close properly. Every detail works together to build a display that performs well every day.
Professional Service and Practical Advice
Good products matter, but the team behind them matters even more. Fairwill Display offers more than just a catalog. They provide advice. When I had questions about materials or layout, they responded quickly. I didn’t have to guess what was best. They explained clearly which options suited my store type, space, and budget.
Their team understands retail operations. That saves time. I didn’t need to explain every detail. They already knew what boutique owners like me face every day—tight corners, budget limits, and the need to impress customers. Their support helped me choose the right product faster.
Custom requests were also welcome. They handled logo printing and special sizes without fuss. That’s rare. Many suppliers avoid that extra work. But Fairwill Display embraced it. That makes me feel respected as a customer. I don’t feel like just another transaction. I feel like a business partner.
A Trusted Partner for Long-Term Growth
In this business, trust isn’t given—it’s earned. Fairwill Display earns mine. Every order arrives as promised. Every product matches the photos and specs. No surprises. That consistency builds trust. I can plan confidently. My buyers are happier. I spend less time fixing problems and more time selling.
Their focus on long-term relationships stands out. They don’t push random products or rush me. Instead, they ask what I need next. They send useful tips. They check in, not to sell, but to support. That approach shows respect and professionalism.
In the end, my store benefits, And because the fixtures hold up over time, I don’t need to reorder frequently. That means fewer headaches and lower costs in the long run.
Fairwill Display helps me succeed, not just with shelves, but with real business value. That’s why I keep coming back.
