As someone who manufactures and sells glass showcases, I get this question a lot. Cleaning your glass display case properly helps maintain a professional image. It also keeps your products visible and attractive. In this article, I’ll show you how I clean glass display cases the right way. To clean a glass display case, use a soft cloth and ammonia-free cleaner. Wipe gently and dry with a microfiber cloth to avoid streaks.
Table of Contents
ToggleUnderstanding Your Glass Display Case

Recognizing the Material Composition
Glass display cases may look similar, but their materials vary greatly. Most high-quality cases, like the ones we produce, feature tempered glass. This type of glass is heat-treated for added strength. Unlike standard glass, tempered glass breaks into small, blunt pieces if shattered. This reduces injury risk and makes it safer in retail spaces. It also handles temperature changes better, which is important for shops with indoor lighting or sun exposure
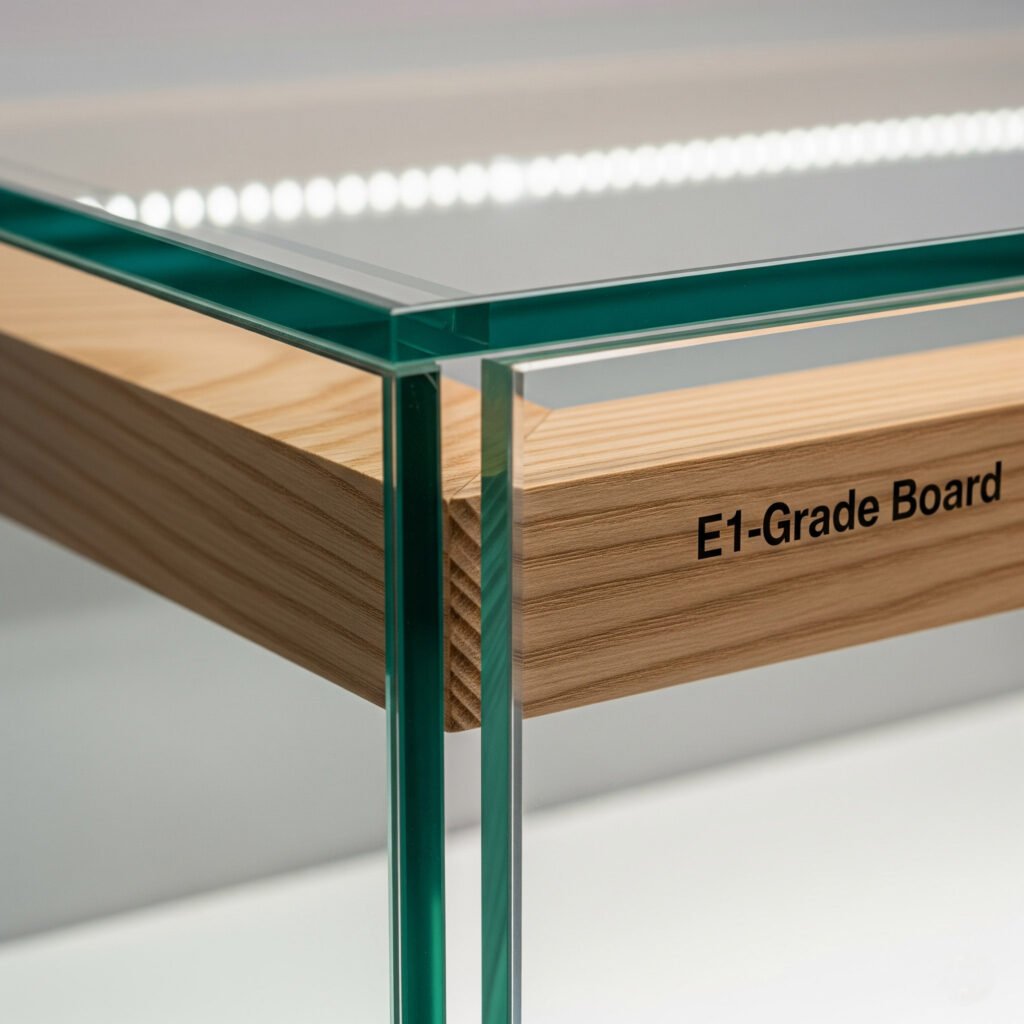
In addition to the glass, the case structure often includes either E1-grade boards, aluminum, or wood frames. E1-grade board is an eco-friendly engineered wood that meets strict European formaldehyde emission standards. Using this ensures safer air quality inside shops, especially in compact spaces. Metal frames, usually aluminum, resist corrosion and provide long-lasting support. Wooden frames add a classic touch, often preferred in boutique settings. Each component has its benefits and care needs, which you must understand before cleaning or moving the case.
Understanding the material is crucial for maintenance. For instance, ammonia-based cleaners can discolor aluminum and wear down wooden trim. Knowing whether your frame is sealed wood or raw finish changes the cleaning approach. Choosing the right tools and cleaners becomes much easier once you know the exact materials used in your showcase.
Noting Design Features That Matter
The way a display case is built affects how you clean and maintain it. Look at the door style. Some cases have sliding doors; others swing open. Each has different dust entry points and needs different cleaning angles. Sliding doors often leave small tracks where dust builds up. Hinged doors may need regular oiling and hinge checks. These are small details, but they make a big difference in keeping your case in good shape.
Lighting is another important feature. Built-in LED strips or spotlights attract attention but generate heat. Over time, that heat can affect both the contents and the case structure. Some lights sit behind glass covers, making cleaning tricky. It’s important to learn how to detach or clean around these safely without leaving streaks or damaging wiring.
Also, some cases include adjustable shelving or display risers. These parts often use clips or brackets made of metal or plastic. Each material responds differently to cleaning chemicals. Improper wiping can corrode or crack fragile plastic mounts. Understanding the design prevents such mistakes and helps preserve your investment longer.
Assessing the Case’s Intended Function
Different display cases serve different functions. Some are meant to showcase jewelry. Others display electronics, collectibles, or tobacco products. The usage affects how often you clean and what contaminants you’ll face. A vape shop display may have to deal with oil residue. A dessert case may face condensation. These environmental factors influence both cleaning frequency and method.
Knowing your case’s function helps you decide what kind of cloth to use and how gently you should be. Retailers who sell high-ticket items need to keep displays crystal clear. Smudges and streaks make even the best products look less appealing. A well-maintained glass case communicates quality and professionalism.
Understanding usage also helps predict wear and tear. A high-traffic display in a convenience store may need daily cleaning. A boutique cabinet used for rare items may only need weekly attention. Tailoring care to function saves time and prevents over-cleaning, which can lead to scratches and surface fatigue.
Identifying High-Risk Zones for Dirt
Certain areas of your glass display case attract more dirt than others. Handles and door edges collect fingerprints quickly. Inner corners gather dust due to low airflow. Shelf supports can hold bits of packaging debris or pricing labels. These areas require more frequent spot-cleaning, even if the rest of the case still looks clear.
Another overlooked area is the base. Dust and hair tend to collect around the bottom rim. This gets worse in stores with carpeted floors or high foot traffic. Rubber seals around the door frames can also trap particles. Over time, these deposits harden and cause discoloration if ignored.
Recognizing these high-risk zones early helps set a more targeted cleaning routine. Instead of wiping the entire case daily, focusing on trouble spots makes upkeep more efficient. Spot-cleaning saves time and extends the life of sensitive areas. Clean edges and corners can make a huge visual difference. Customers won’t always notice a streak-free pane, but they’ll quickly notice a dusty handle.
Preparing for the Cleaning Process


Remove All Items from the Display Case
Before beginning, clear every product and decoration from the case. This step ensures access to every corner and surface, preventing missed spots and protecting your inventory from cleaner residue. Delicate merchandise like jewelry, glass bottles, or small electronics should be handled with care and placed on a clean surface away from foot traffic. Dust often collects around item bases, so this is the best time to remove both the dirt and the cause.
Once the case is empty, take a moment to inspect the interior. Check for smudges, fingerprints, or dried residue from past displays. By starting with a blank space, you create the conditions for a deeper clean. Keeping the items in order during removal also helps return them later without confusion. Use trays or bins to group similar items for faster reassembly once the cleaning is done.
Organizing the case this way makes the entire process more efficient. It also minimizes the risk of accidents during cleaning. When no obstacles are present, glass panels and shelving can be cleaned more thoroughly, allowing each product to shine when placed back.
Inspect for Dust Build-Up, Damage, or Loose Parts
After emptying the case, perform a full inspection. Focus on edges, corners, joints, and hinges. These hidden areas often trap dust and dirt. A small flashlight can help reveal particles that go unnoticed under normal lighting. Also, check if any glass panels are cracked or if any screws have loosened over time.
If you notice small chips or damaged seals, take note. These may require repair before cleaning. Wiping over damaged areas can cause further problems, especially if moisture seeps into weakened joints. Gently touch each door hinge or shelf bracket to ensure they’re stable. If anything moves unexpectedly, tighten the part or mark it for maintenance.
This early inspection helps prevent cleaning from making things worse. When repairs are handled before spraying or wiping, the overall process becomes safer and more effective. Also, identifying wear and tear shows you how the case is aging and whether it needs professional attention soon.
Create a Clean, Safe Workspace
Before reaching for a spray bottle or cloth, prepare the area around the case. Lay protective towels or plastic sheets on the floor beneath and around the case to catch drips or spills. If your case is in a retail environment, use signage or cones to redirect customers during cleaning. Safety is key, especially when using liquid cleaners near electrical outlets or cords.
Store other furniture or displays far enough to avoid accidental spray mist. Cleaning products can cause damage if they land on nearby wood, plastic, or fabrics. Keep extra clothes and gloves nearby in case of spills. Having everything at arm’s length prevents interruptions and reduces the risk of accidents during the cleaning process.
Unplug any lights built into the case before spraying liquid. Even low-voltage LEDs pose a hazard when mixed with moisture. If the lights can’t be removed, shield them with plastic wrap or cloth. Never spray directly onto electrical components.
Planning the workspace in this way not only protects the floor and surrounding displays but also improves efficiency. When everything is ready from the start, cleaning becomes faster, safer, and more thorough.
Gather and Test Your Cleaning Supplies
Once the area is safe and clear, select the cleaning products. Choose an ammonia-free glass cleaner or a vinegar-and-water mixture. Use microfiber cloths instead of paper towels to reduce lint and improve streak removal. For tighter spots, keep cotton swabs or soft brushes on hand.
Before applying any solution, test it on a small, hidden area of the glass. Watch for clouding or residue. Even ammonia-free sprays may leave streaks on certain coatings. This quick test ensures no surprises during the full cleaning. Avoid using harsh abrasives, sponges with rough textures, or expired cleaning liquids.
Once all products are ready and tested, line them up in the order they’ll be used. Keep a dry cloth ready for final buffing. With a complete kit and a tested routine, your showcase cleaning will go smoothly and deliver a polished result.
Cleaning the Glass Panels
Choose the Right Cleaner
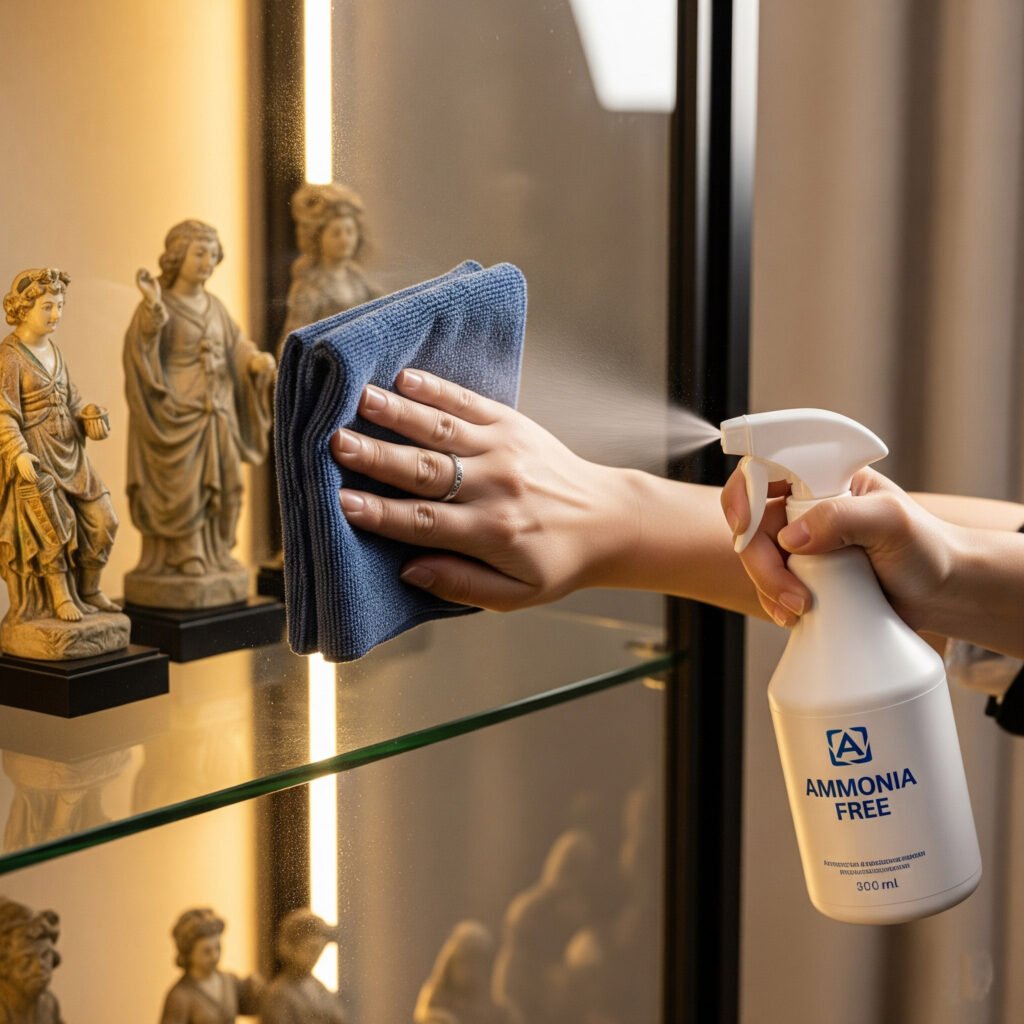
Start by selecting a cleaner that’s safe for tempered glass. Ammonia-free options are best, as they prevent streaks and protect the integrity of the seals. Commercial glass cleaners marked “streak-free” often do the trick. Alternatively, mix equal parts white vinegar and distilled water in a spray bottle for a natural solution. This DIY mix works well and leaves no residue. Avoid any product with harsh chemicals, especially ammonia or bleach, which can damage silicone seals or the case’s surrounding structure.
For stores near coastal or dusty environments, using distilled water ensures there’s no mineral residue left behind. Keeping a dedicated bottle of cleaner on hand in your storage area also speeds up regular cleaning.
While preparing your cleaning materials, make sure the case is unplugged if it has built-in lighting. Also, wipe the spray bottle nozzle clean before use to avoid unexpected drips. Never use a strong stream of liquid. A gentle mist is enough. That saves time and reduces the risk of liquid dripping into frame joints or door tracks. Excess moisture can damage wood trims and loosen adhesives over time. Remember, prevention is just as valuable as the cleaning itself.
Apply with a Controlled Technique
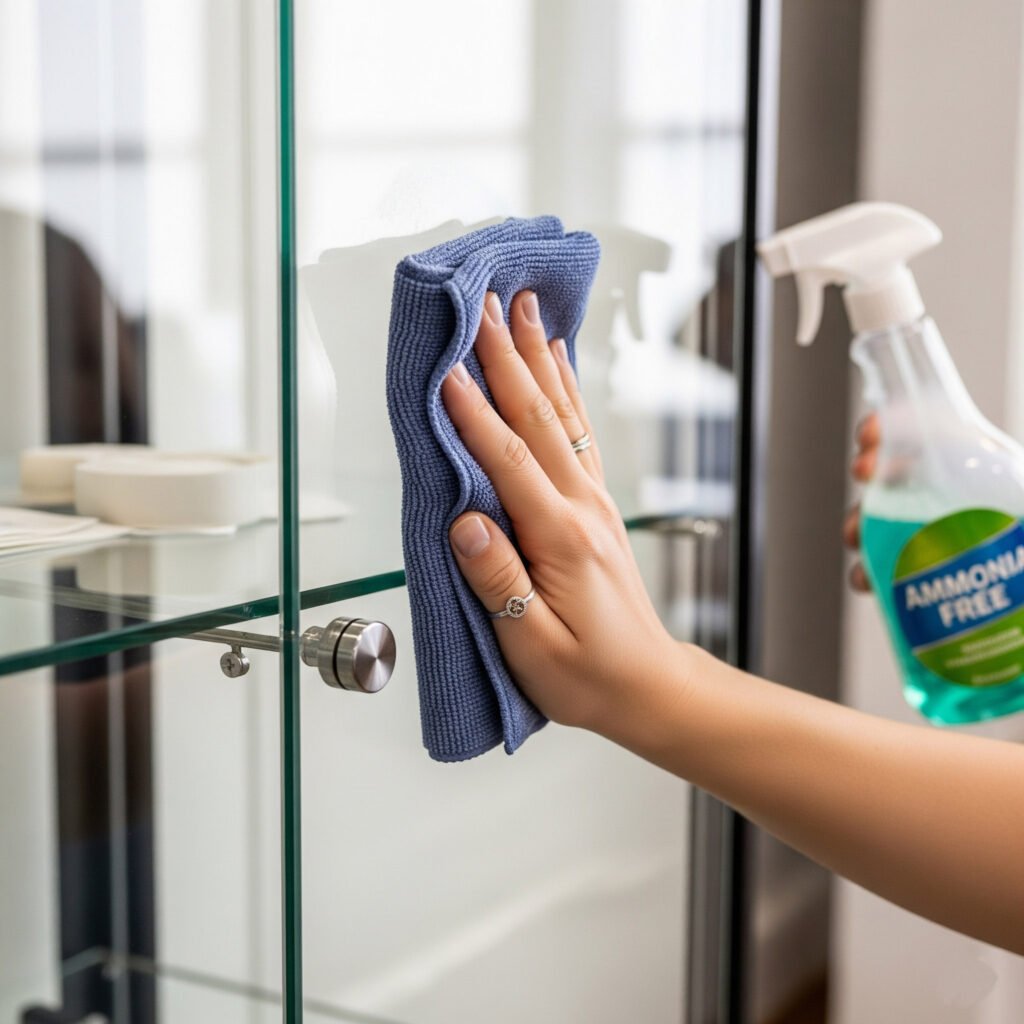
Rather than spraying directly on the glass, spray onto a microfiber cloth. This prevents overspray from reaching display items, hinges, or shelves. Using a soft, lint-free cloth ensures the glass surface remains scratch-free. Microfiber absorbs well and spreads the cleaning solution evenly. Fold the cloth into quarters to get multiple clean surfaces while wiping. Use one section to wipe and another to polish—work in a consistent motion, usually horizontal or vertical.
Start from the top of the panel and work your way down. Gravity will help prevent dirty solution from dripping over already cleaned areas. Pay extra attention to edges and corners. These areas often trap dust and oil from frequent handling. A gentle touch is all it takes. Apply light pressure to lift smudges, especially if the fingerprint is oily or fresh. Scrubbing with force is not only unnecessary but risky.
After cleaning one side, move to the other side immediately. This allows you to see which streaks are on the inside and which are on the outer surface. It also maintains momentum in your cleaning flow. Clean both front and back in one session for uniform clarity. Skipping one side may leave the glass looking dull or half-finished.
Dry to a Crystal-Clear Finish
Once the surface is cleaned, drying becomes crucial. Use a dry microfiber cloth, not paper towels. Paper products leave lint and sometimes scratch delicate coatings. A fresh microfiber towel ensures a polished, crystal-clear look. Begin buffing gently using long strokes. Move across the glass in a smooth direction. Avoid swirling, which may reintroduce streaks. Hold the cloth with both hands for better control and even pressure.
Check your work under direct light. Rotate your view to catch streaks from different angles. Bright LED light or sunlight often reveals marks that go unnoticed under store lighting. Buff these areas again with the clean side of your cloth. Don’t wait for the glass to air dry naturally. Evaporation often leaves mineral spots, especially in hard water regions. Using a dry cloth actively removes moisture and brings out the shine.
For best results, change clothes halfway through if one becomes damp. Wet cloths spread moisture rather than absorbing it. Keep extra microfiber cloths nearby for fast switching. Consistent drying gives the glass that professional, spotless look customers love. Finishing the job with care tells your shoppers you value cleanliness and presentation.
Cleaning Interior Shelves and Accessories
Remove and Clean Shelves Separately
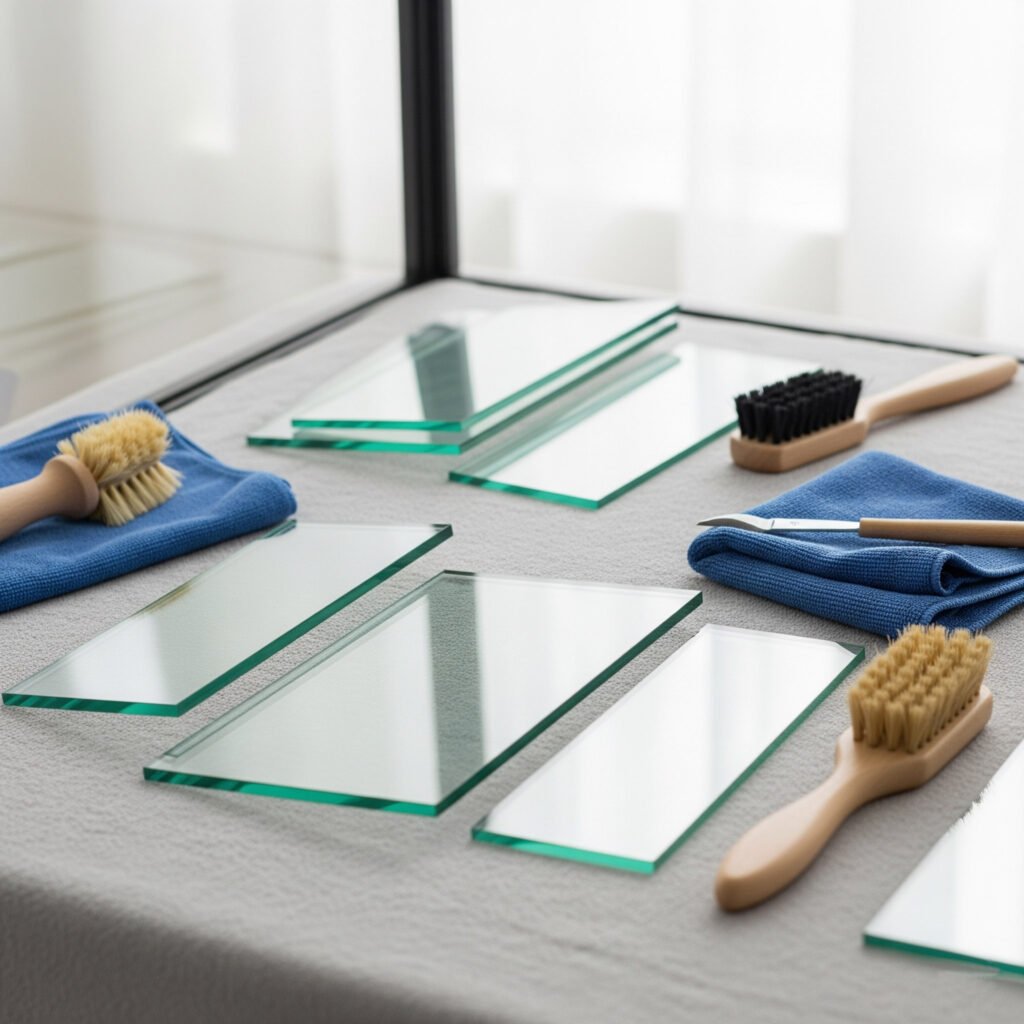
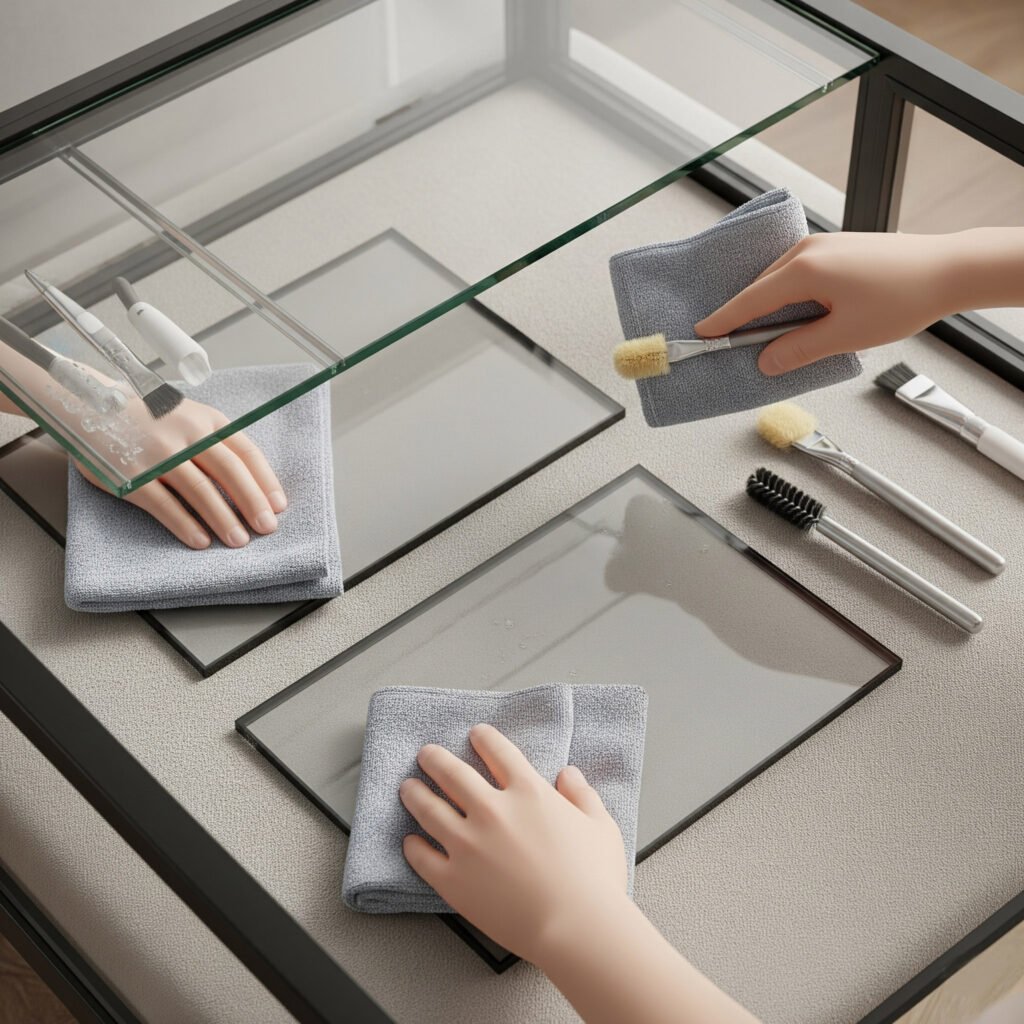
Start by carefully taking out each shelf from the display case. This creates easier access to corners and prevents splashing cleaner on items still inside. Most shelves in glass display cases are removable, whether made of tempered glass, E1-grade board, or acrylic. Once removed, place them on a soft, flat surface like a padded worktable or thick cloth to avoid scratches.
Next, assess the material before cleaning. Use an ammonia-free glass cleaner for tempered glass shelves and a slightly damp cloth with mild soap for wooden boards. Avoid spraying directly onto wood—spray onto a cloth first to control moisture. For tough stains or sticky residue on shelves, a bit of rubbing alcohol on a soft cloth helps dissolve the grime without damaging the surface.
After cleaning, dry the shelves thoroughly with a microfiber cloth. Let them air-dry longer if needed, especially if they sit on metal supports. Reinserting wet shelves can cause moisture damage. Before putting shelves back, check the mounting grooves or brackets and wipe those areas too. Dust often hides in those edges, and cleaning them prevents debris from reappearing after reassembly.
Wipe Down Support Bars and Brackets
Shelves sit on brackets, bars, or pegs. These parts are often ignored but collect dust over time. Use a soft, damp cloth to wipe them thoroughly. If dust has hardened or mixed with grease, a diluted mix of warm water and dish soap can help break it down. Wipe the bars gently, and then dry them immediately with a clean cloth.
Metal brackets sometimes rust if left damp. Always make sure they stay completely dry after cleaning. If rust has already begun, use a tiny amount of white vinegar to dissolve the buildup, then rinse the area with plain water. Avoid abrasive scrubbers, even if the brackets look durable. Scratching them can lead to faster rusting or reduce their load capacity.
Continue cleaning hidden support features, too. Check under the brackets, inside slotted tracks, and the sides of metal framing. A soft brush or cotton swab can dislodge packed dust from these tricky spots. Even though they’re not visible to shoppers, keeping these parts clean maintains structural hygiene and reduces long-term maintenance.
Sanitize Contact Points and Accessories
Beyond the glass and supports, several contact points inside the case need attention. These include shelf edges, handles, LED light switches, and any adjustable rails. These areas are touched more often and can collect bacteria or fingerprints that dull the surface. Use alcohol-based wipes or a clean cloth sprayed with disinfectant to sanitize these parts effectively.
Be mindful not to saturate any electronic components like LED lighting strips or internal switches. Instead, use a lightly moistened cloth and avoid spraying directly. For light fixtures and cords, dusting with a dry cloth first reduces buildup. Then follow with a gentle wipe using a damp microfiber to clean the surface safely.
If your case contains non-glass accessories like display risers or acrylic stands, remove and clean them separately. Wipe these props with a mild cleaner and rinse them, especially if they hold food or skin-care products. Make sure to dry them fully before returning them to the display to prevent moisture stains.
Reassemble With Care and Precision
Once every part is clean and dry, reassemble the interior methodically. Place brackets and supports in their correct slots, checking that they’re secure. Gently lower the shelves back into place. Avoid sliding glass surfaces along the metal frame, as this can cause fine scratches that may build up over time.
Take a moment to inspect each reinstalled piece. Confirm that there are no streaks or dust particles left behind. Recheck corners and bracket joints one more time before placing items back into the case. A clean interior only works if the environment stays free from debris when products are returned.
To complete the process, lightly polish the visible shelf edges and any internal signage or decor. This final step gives the entire case a fresh, consistent look that customers will notice. With the shelves spotless and accessories clean, your products will stand out more clearly. Regular maintenance like this enhances customer experience and extends the life of your glass display cases.
Why Fairwill Display


When I searched for a supplier I could truly trust, I discovered Fairwill Display. As a boutique owner, I care about quality, price, and reliable service. That’s exactly what I found here. Let me explain why working with Fairwill Display has been one of the best decisions for my store fixture needs.
Cost-Effective Solutions Without Sacrificing Quality
I always worry about going over budget. But with Fairwill Display, I found affordable pricing that still delivers on quality. Their glass showcases are made from real tempered glass. Not only are they safe, but they also feel strong and solid—nothing flimsy. Their E1-grade board is eco-friendly too, which means I don’t have to worry about harmful materials.
Every quote I received was clear. No hidden charges or confusing breakdowns. The price was fair, especially for the craftsmanship I received. I could finally invest in beautiful displays without stretching my budget too far. If you’re like me—someone who wants value—this team gets it right.
Their ability to ship directly from their own factory really makes a difference. By cutting out the middleman, they offer pricing that others just can’t match. That matters a lot for wholesalers or small retailers like me.
Professional Advice That Actually Helps
What impressed me most wasn’t just the products—it was the advice. I didn’t know which display size would fit best near my counter. I wasn’t sure if I should use slatwall or glass showcases for my new layout. Fairwill Display didn’t just sell me something—they guided me.
They asked about my floor space, customer traffic, and product type. Then, they recommended a layout that made my best-sellers more visible. Their suggestions were not pushy; they were practical and honest.
Even when I had questions after the sale, they replied quickly. They sent me setup tips, cleaning instructions, and even visual layout examples. That ongoing support made me feel like a valued customer, not just a transaction.
Customization and Flexibility
Sometimes, off-the-shelf fixtures just don’t fit. My store has a unique layout, and Fairwill Display understood that. They offered to adjust the length, shelving height, and even color tone to match my shop’s design. That flexibility helped me create a cohesive in-store look.
I shared photos of my space, and they worked from those. The process felt easy, and the results were exactly what I needed. I didn’t feel locked into generic sizes or designs. They really listen to what you want—and then they deliver it.
If you’re planning a new store or just upgrading part of your layout, I highly recommend asking them about their custom solutions.
Reliable Global Shipping and Support
Being located in Sweden, I worried about delays, shipping damage, or communication problems. But those concerns quickly disappeared. Fairwill Display packed everything professionally. The tempered glass arrived intact—no cracks, no missing screws.
I received shipping updates throughout the process. They even helped me understand customs paperwork. I never felt alone during the process. That’s rare when dealing with international suppliers.
Fairwill Display has experience shipping to countries like the USA, Australia, and Sweden. They know what works. That kind of expertise saves time, money, and stress.
Final Thoughts
If you’re still unsure whether Fairwill Display is right for you, I understand. I had doubts too. But their prices, quality, and support exceeded my expectations. They understand that buyers like us want cost-effective solutions, not compromises.
So if you need glass showcases, slatwall units, or custom store fixtures, reach out to them. Ask questions. Share your store plan. I’m confident they’ll help you find the right solution—just like they helped me.
Fairwill Display isn’t just a supplier. They’re a reliable partner that helps businesses like ours grow.
