As a store fixture supplier, I often get asked: How to build a display cabinet with glass doors? In this guide, I’ll walk you through the full process step by step. Whether you’re a boutique owner or wholesaler, this article is written just for you. How to build a display cabinet with glass doors? Start with precise measurements, quality materials and smart assembly techniques.
Table of Contents
ToggleUnderstanding the Basics Before You Start
Identify the Purpose of Your Display Cabinet
Every project starts with a purpose. A clear goal drives all design decisions. A display cabinet with glass doors and shelves can serve many functions. It can showcase products, protect valuables, or enhance the store’s image. Deciding on a function helps define size, layout, and security needs. Cabinets meant for jewelry require more lighting and tight locking systems. Units for books or gifts demand different shelf spacing and fewer locks.
Next, the location must be considered. Will the cabinet sit against a wall or stand freely in the center of the store? Placement affects height and depth. If the cabinet is for a boutique, a sleek, modern style may fit best. In contrast, a convenience store may prefer something more practical and accessible. Carefully defining where and how the cabinet will be used reduces costly redesigns later.
Understanding who will interact with the cabinet is also essential. Will the staff open it for customers? Or will shoppers access it directly? This detail influences the choice of doors, glass shelves, locks, and layout. Considering these questions early simplifies the build and avoids rework.
Select the Right Base Materials
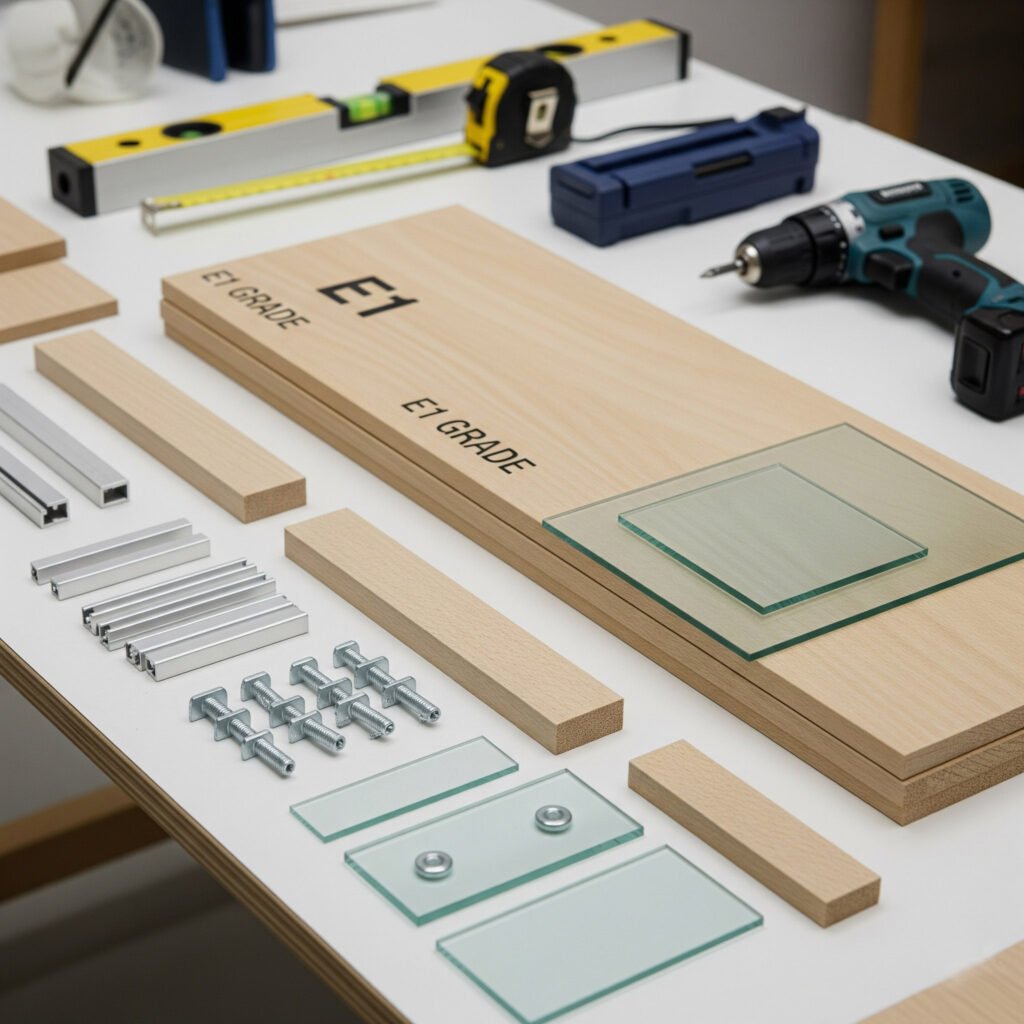
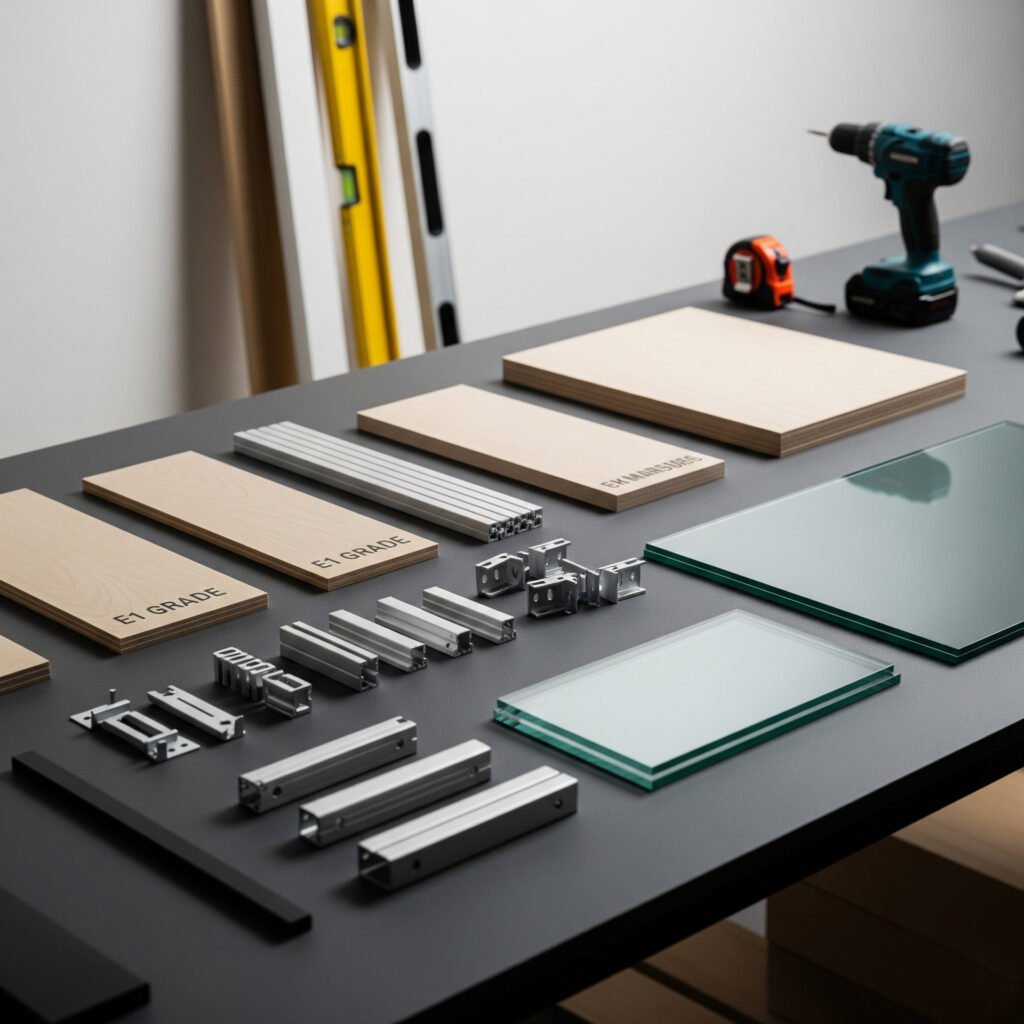
Material selection plays a major role in durability and appearance. E1 grade engineered wood provides excellent value. It resists warping and offers a smooth finish. For the doors and shelves, tempered glass remains the safest and most professional choice. It’s strong, resistant to heat and impact, and breaks safely if damaged. Choosing tempered over regular glass ensures peace of mind, especially in high-traffic stores.
Frames and support components also need attention. Aluminum offers strength without unnecessary weight. Steel adds durability but can increase cost and assembly effort. Selecting the right metal depends on how mobile or permanent the unit should be. For permanent fixtures, heavier materials add stability. In contrast, lightweight builds work better for trade shows or pop-ups.
Don’t forget the internal hardware. Shelf pegs, door hinges, and locking systems need to match the cabinet’s use. Low-cost hardware may reduce your budget temporarily, but it will likely cause future issues. Investing in reliable metal components prevents sagging doors, shelf failures, and alignment problems.
Prepare Your Work Area and Tools
Before building, organize the workspace. A flat surface ensures all parts align properly during assembly. Working on uneven ground leads to frame distortions and glass fitting issues. Clear the area of debris, and ensure you have adequate lighting. A clean and well-lit environment increases precision and safety.
Next, gather all essential tools. A cordless drill saves time and reduces fatigue. Clamps keep panels steady while screws go in. A measuring tape and spirit level help maintain accuracy. Always keep a screwdriver set nearby for manual adjustments. Don’t overlook glass-handling equipment. Suction cups allow safe movement and placement of heavy panels. Gloves reduce the risk of cuts when managing edges.
Back-up materials are always smart. Extra screws, shelf clips, and brackets avoid delays if something breaks or gets misplaced. Marking tools like pencils and rulers should also be within reach. Planning for all tools and safety gear upfront prevents disruptions during the build.
Plan for Product and Customer Needs
Customers shop with their eyes. Before cutting any board or drilling a hole, think about how products will be displayed inside the cabinet. Will items sit upright or lie flat? Are they tall or small? Fragile or sturdy? These questions shape shelf height, spacing, and weight requirements. A poorly planned interior can waste space or damage goods.
Consider how people will view the items. Lighting can play a huge role. Although this section doesn’t cover wiring or LED installation, planning for it early makes later steps easier. Leave space in the frame or backboard for wiring, if needed. Bright, shadow-free lighting makes displays more appealing and encourages purchases.
Also, think about long-term maintenance. Choose materials that are easy to clean and resist fingerprints, especially on glass doors. A smooth wooden finish helps, while complex textures trap dust. Planning ahead for these practical issues saves hours later. Proper planning ensures not just a beautiful display cabinet with glass doors, but one that truly performs in real store environments.
Planning the Design Layout
Sketch Your Cabinet Design
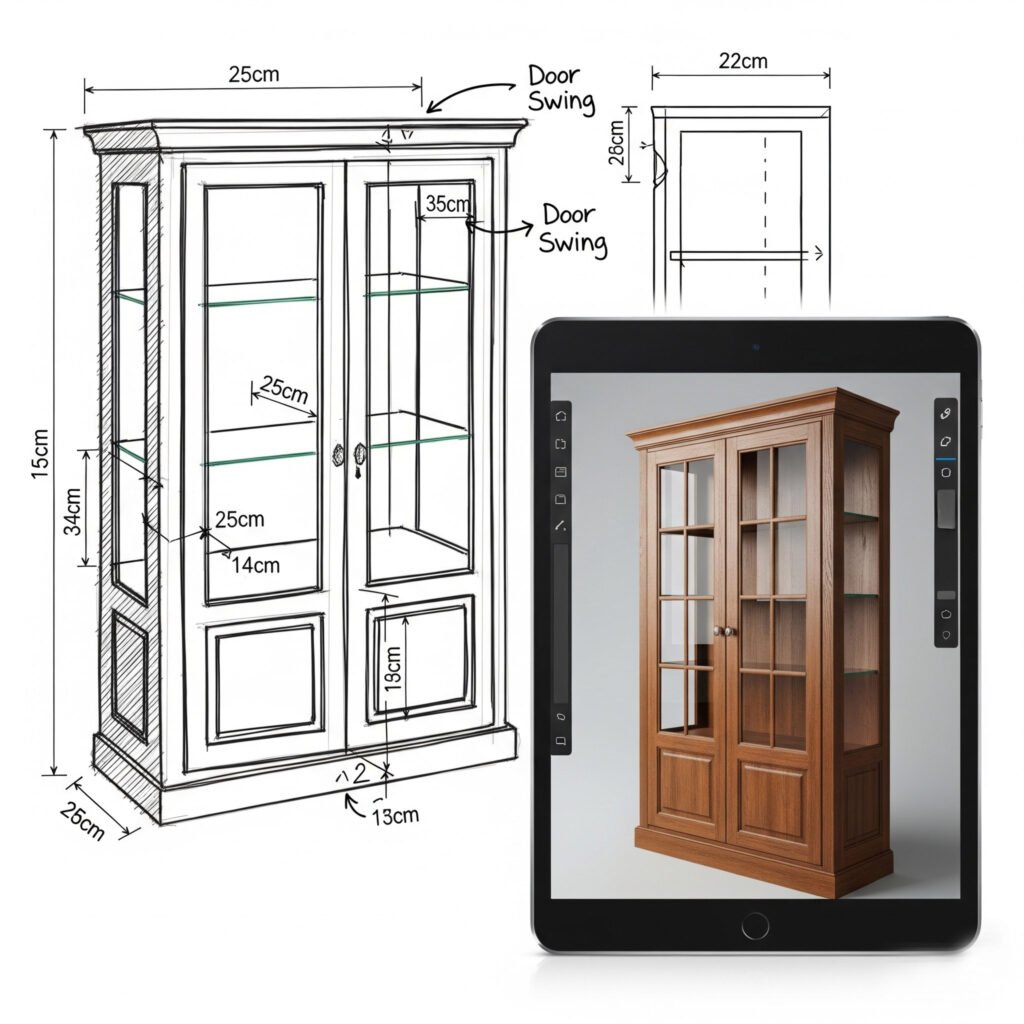
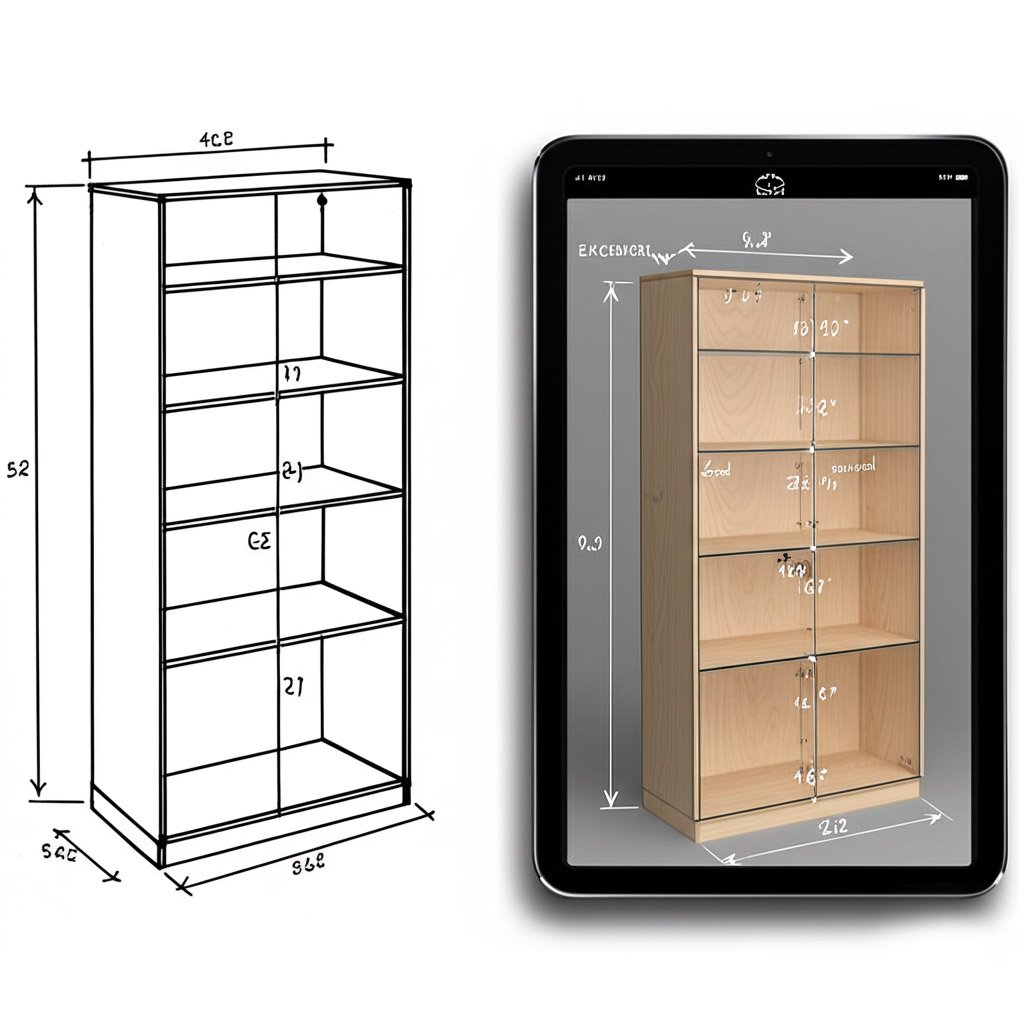
To build a display cabinet with glass doors and shelves successfully, a detailed sketch is essential. Start by drawing the full cabinet structure on paper or design software. This includes width, height, and depth. Mark out where the glass doors will go and how they will open. Decide if you want the cabinet to stand against a wall or sit in the middle of a space. This affects the back panel design and door placement. Leave space for door movement, handle access, and customer traffic.
Design proportions should match the products you plan to display. For example, small collectibles need tighter shelf spacing, while large boxes require taller sections. Clearly label each section of the sketch. Include notes for electrical wiring if adding lighting. Also, plan how to hide those wires neatly. Always consider symmetry for visual balance. Place supporting structures where they won’t block product views. Don’t forget to indicate shelf height options if using adjustable brackets.
Think through the placement of handles and locks. Everything needs to work together smoothly. A thoughtful sketch helps avoid mistakes during assembly and saves money on material changes later.
Choose the Right Door Style
The door style determines the cabinet’s usability and appearance. Both sliding and hinged glass doors offer benefits. Sliding doors save space and suit narrow aisles. Hinged doors allow full access and feel more classic. If the cabinet will sit in a tight space, sliding is safer. For boutiques or jewelry stores, hinged doors add elegance. Decide whether the door will have a frame. Frameless glass creates a clean look but needs stronger hinges.
Framed glass is easier to mount and more forgiving. Choose aluminum or wood for the frame, depending on the cabinet’s finish. A dark frame highlights the glass, while a clear frame blends in. Lock placement also depends on the door type. For sliding doors, locks go on the side or top track. Hinged doors use center or bottom locks. Think about customer interaction. Will staff open it often, or will it stay locked? The answer guides your door choice.
Plan Shelf Configuration Carefully
Shelves are not just platforms—they define the display’s rhythm and usability. Plan shelf spacing based on the items you’ll showcase. A layered shelf setup improves visibility and allows for creative merchandising. Start by choosing between fixed and adjustable shelves. Adjustable ones offer long-term flexibility, especially if inventory size changes. Use pre-drilled peg holes in vertical rows for easy repositioning. For weight-bearing strength, tempered glass shelves remain the safest option.
Ensure that the shelf thickness supports the weight of your items. Reinforce the central area for wider shelves. Spread shelf brackets evenly for balance. Avoid placing shelves too close together—this crowds the display. Provide enough space for lighting if adding LED strips or puck lights. If using lighting, avoid glass shelves that reflect glare. Instead, go for frosted or lightly tinted glass. Include one open section if displaying oversized items or decorative backdrops.
The contrast between full and empty space makes the cabinet look more dynamic. Consider shelf depth as well. Shallow shelves help smaller items stay visible. Deep shelves support bulkier stock but can hide items in the back. Always find a balance between capacity and clarity.
Integrate Practical Features
Incorporating practical features boosts both function and appeal. Start with cable management. If using lighting or security sensors, create discreet paths for wiring. Drill holes at the back corners and cover them with grommets. Add ventilation slots at the top or base if the cabinet will hold electronics. This prevents overheating. Soft-close hinges improve the user experience and reduce noise. For frequently accessed cabinets, push-to-open mechanisms work well.
If the cabinet is placed near foot traffic, consider adding bump guards at the base. Choose finishes that resist fingerprints and scratches, especially for dark tones or glossy surfaces. Adding a mirrored back enhances depth and increases product visibility. LED strips along vertical sides provide even lighting. For premium setups, motion sensors can activate lights when a customer approaches. Include hidden storage beneath the display area for tools, stock, or packaging.
Step-by-Step Build Process
Cut and Prepare the Materials
Before assembling the cabinet, I focus on cutting and prepping every part. I measure each panel precisely using a tape measure and a marking pencil. This step ensures everything fits together without gaps. Using a table saw, I cut E1-grade boards to size, including the side panels, base, top, and back. Edges must be clean and straight to avoid misalignment during assembly.
After cutting the wood, I sand every edge to remove splinters. Sanding also helps paint and finish adhere better. Each board is wiped down with a dry cloth to eliminate dust. Tempered glass for the doors and shelves comes pre-cut. I confirm all glass dimensions match my plans before I proceed.
Next, I prepare pilot holes for screws. Drilling ahead prevents wood from cracking during assembly. I mark every point clearly to avoid mistakes later. Brackets and metal hardware are placed nearby, sorted, and ready. Every tool is double-checked—drills, clamps, suction cups, and screwdrivers. This prep stage sets the tone for a smooth assembly.
Assemble the Cabinet Frame
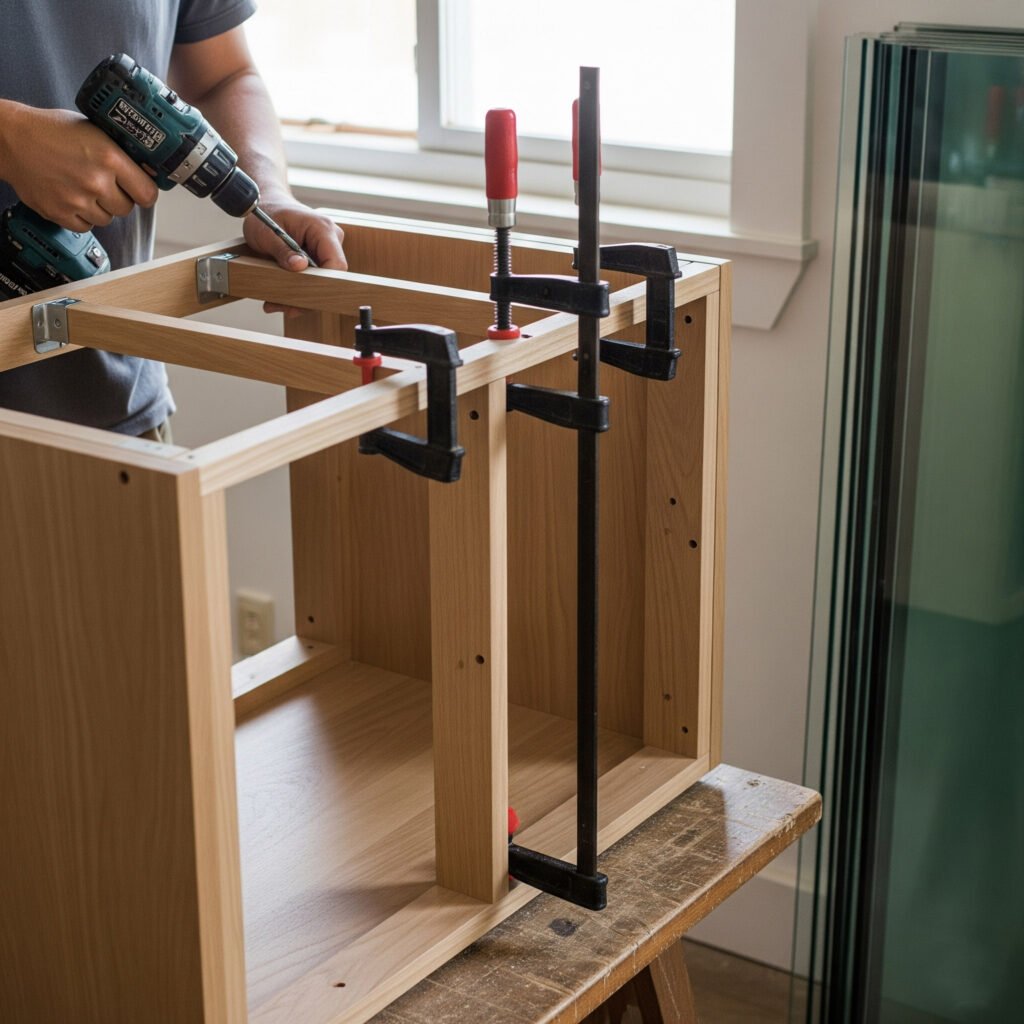
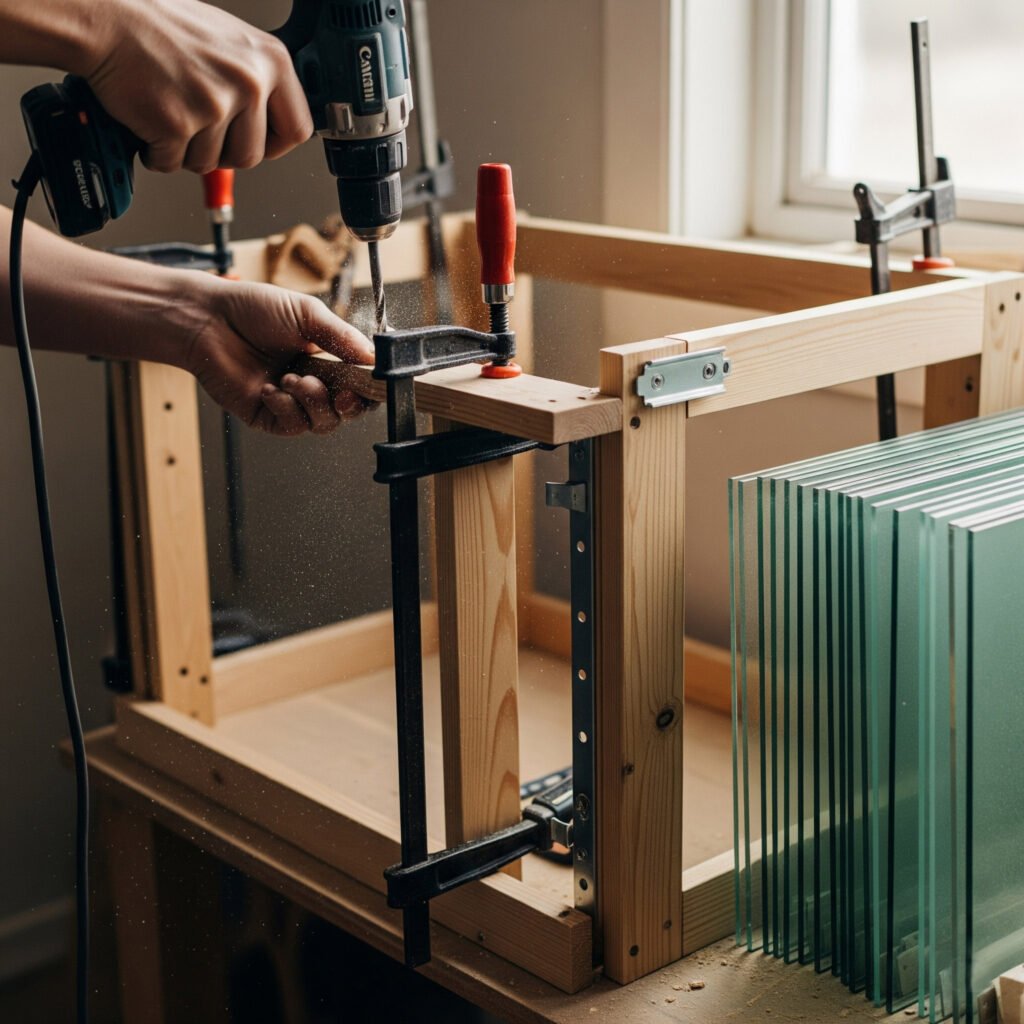
Once all materials are ready, I move on to building the main frame. I begin by attaching the side panels to the bottom base panel using metal L-brackets and wood screws. To keep the frame square, I use large clamps and a level. It’s important that the frame stays straight, or the glass doors won’t align properly later.
After fixing the sides and base, I attach the top panel. Again, clamps hold the panels steady while I drill and screw them into place. At this point, I check every corner to make sure they form perfect 90-degree angles. Uneven corners affect door operation and shelf placement. I don’t rush this step because it determines the entire cabinet’s shape.
Following this, I mount the back panel. Depending on weight needs, I use MDF or plywood. The back adds strength and prevents wobbling. I screw it directly into the side, top, and bottom panels. As I secure the frame, I recheck all screws to ensure tight fits. A loose frame leads to long-term instability, so I reinforce wherever necessary.
Install the Shelves and Supports
After the cabinet shell is secured, I install the shelf brackets. First, I mark equal distances on both side panels. Using a spirit level, I confirm the lines are perfectly straight. Uneven shelves will make products look unbalanced, which hurts visual merchandising. Bracket holes are drilled carefully, then metal pegs or adjustable clips are inserted.
Next, I place the tempered glass shelves on top of the supports. Each shelf sits flat with no movement. If any shelf wobbles, I adjust the bracket or add a stabilizer. For cabinets that hold heavy items, I add a center support under the middle shelf. This support can be wood or metal, depending on the product’s weight.
Once shelves are placed, I clean the surfaces with a soft cloth. Fingerprints and sawdust affect presentation, so I keep everything spotless. Now the cabinet starts to take its final shape, and I can prepare for the final and most delicate stage—the glass doors.
Attach the Glass Doors and Hardware
Attaching glass doors requires patience and precision. I begin by mounting the door hinges to the side panel. Special glass-door hinges are then attached directly to the tempered glass. Suction cups help me lift the glass safely without leaving smudges. I line up the hinges and secure the screws carefully to avoid overtightening and cracking the glass.
Once the doors are attached, I install the handles. Most handles use pre-drilled holes and bolts from the back. I align them at a comfortable height for easy access. If the cabinet design includes locks, I drill holes for the locking mechanism and test the fit. Locks must turn smoothly and click securely to offer real security.
After installation, I open and close the doors several times. The swing must be even and gentle. Misalignment at this point signals that the frame needs adjustment. I fine-tune the hinges or level the cabinet base if required. Every part must feel sturdy and look professional.
To complete the process, I wipe the glass clean and remove all dust from the hardware. Hinges, handles, and locks are double-checked for strength. Once everything is installed and polished, the cabinet is ready for final inspection or delivery.
Safety and Quality Checks

Ensure Structural Stability
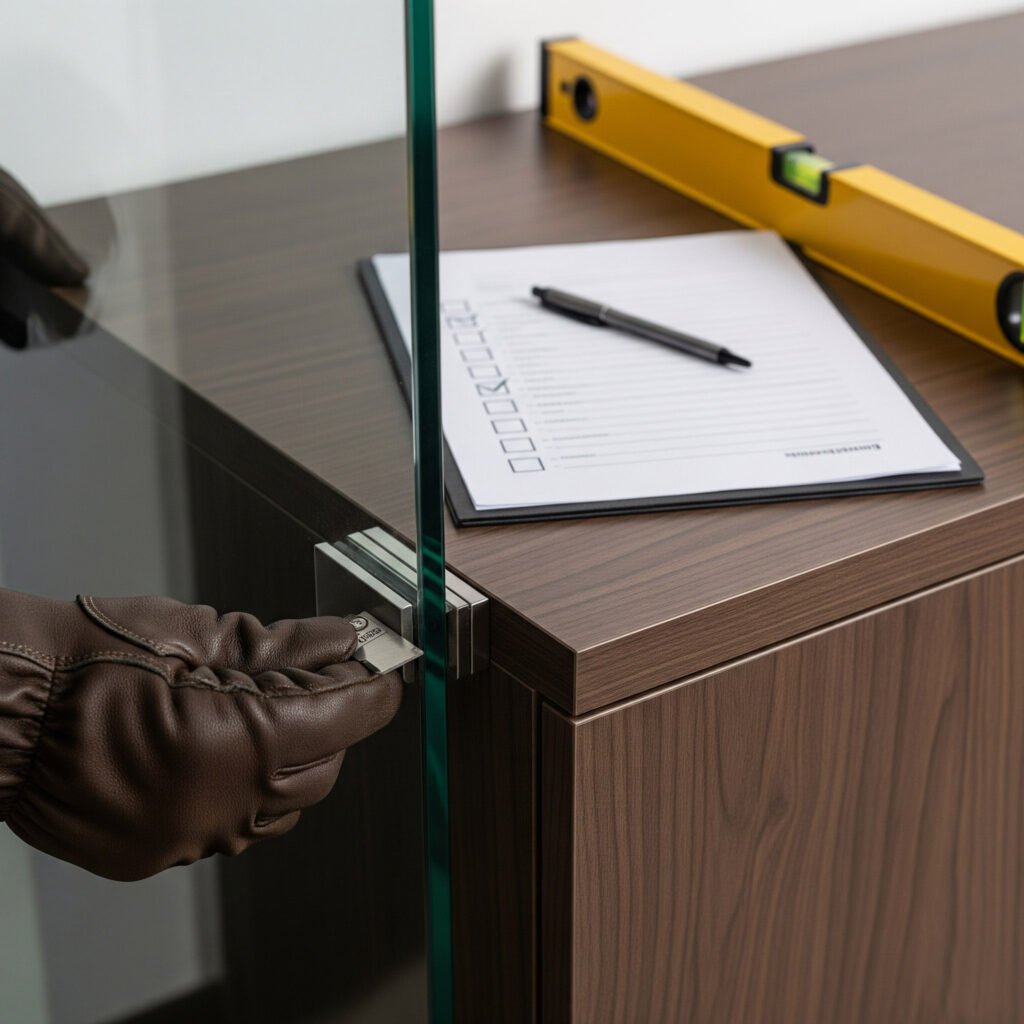
Every completed cabinet must feel strong and dependable. Once assembly finishes, it’s essential to test its strength and overall structure. Push lightly from different sides and observe the reaction. A properly assembled frame stays firm without any movement. If there’s shaking or a wobble, it’s important to reinforce the weak points with extra support or fasteners. Structural alignment matters. A misaligned cabinet may affect the function of the glass doors.
Level tools help verify all angles. When necessary, clamps and wood shims correct any uneven joins. Secure all connections to eliminate any risk of collapse when fully loaded.
Next, inspect the support system. Each shelf bracket or pin must hold its share of weight without stress. Test this by applying mild pressure to the shelves. If the brackets shift or creak, resecure them with stronger anchors or replace them altogether. Even a small wobble can become a hazard over time. Finally, examine the cabinet base. Uneven footing causes tilts. Use rubber pads or leveling feet to balance the cabinet on any surface. Always finish structural checks before moving on to glass or accessories.
Inspect All Glass Components
After the frame passes stability tests, shift attention to the glass elements. Use a soft cloth to clean each glass door and shelf before inspection. Look closely for scratches, chips, or cloudy patches. Even a minor flaw could lead to cracks under pressure. Edges need extra care. Check for smooth polishing and safe finishing. Sharp or jagged edges pose a safety risk and signal poor craftsmanship. Glass with high clarity not only looks better but also enhances the display’s professional feel.
Tempered glass deserves special attention. Confirm it has the right markings or certification labels. These symbols prove it meets safety standards. Place mild pressure on the installed doors and shelves to test stability. A firm fit ensures the glass won’t rattle or slide out unexpectedly. Also, assess the fit between glass and hardware. Gaps or looseness may result in vibration, which shortens the life span of both parts. If adhesive seals or gaskets are present, confirm they’re firmly attached and not peeling.
Examine Hardware and Fasteners
Hardware holds the cabinet together. Weak or loose components compromise the entire structure. Begin with the door hinges. Open and close the doors several times. Smooth motion without resistance shows correct alignment. If the doors catch or shift off track, adjust the hinges or recheck the frame’s squareness. The same care applies to sliding door tracks. These must glide effortlessly without jamming or scraping. Any friction here signals misalignment or poor installation.
Locks and handles need equal scrutiny. Test the locking mechanism with repeated open-close cycles. A secure, reliable lock enhances product safety and deters theft. Check handle tightness as well. Loose handles quickly become annoyances for users. Retighten or replace any that wiggle. Next, inspect all internal screws and brackets. Each should sit flush with the wood or metal surface.
Make sure weight-bearing elements, like corner braces or shelf supports, feel firmly in place. They need to stay strong under load. It helps to load the cabinet briefly with sample items and observe for any movement or stress. Fasteners might loosen over time, so use thread lock or washers where needed to maintain long-term integrity.
Final Finish and Presentation
The final check involves the cabinet’s visual and functional finish. A clean, polished unit adds professionalism. Start by wiping down the entire cabinet. Use separate cloths for glass and wood surfaces to avoid smudging. Remove fingerprints, glue marks, or pencil lines used during measurement. Glossy finishes look best when streak-free. A microfiber cloth helps bring out the sheen without scratching.
Next, look at the cabinet from all angles. Ensure the doors align evenly and open with ease. Check for any small chips, dents, or paint imperfections. Touch up blemishes using matching filler or edge paint. Small fixes now prevent bigger issues later. At this stage, lighting can be tested too if included. Make sure wires stay hidden and fixtures remain cool during operation. A well-lit cabinet makes your product pop. This creates a positive impression on customers and buyers alike.
Lastly, apply corner guards or soft pads where the cabinet meets the floor. These prevent scuffing and provide extra grip. Place the cabinet in its final location and give it one last test under full weight. If everything stays firm, moves smoothly, and looks polished, the cabinet passes the quality check.
Why Fairwill Display
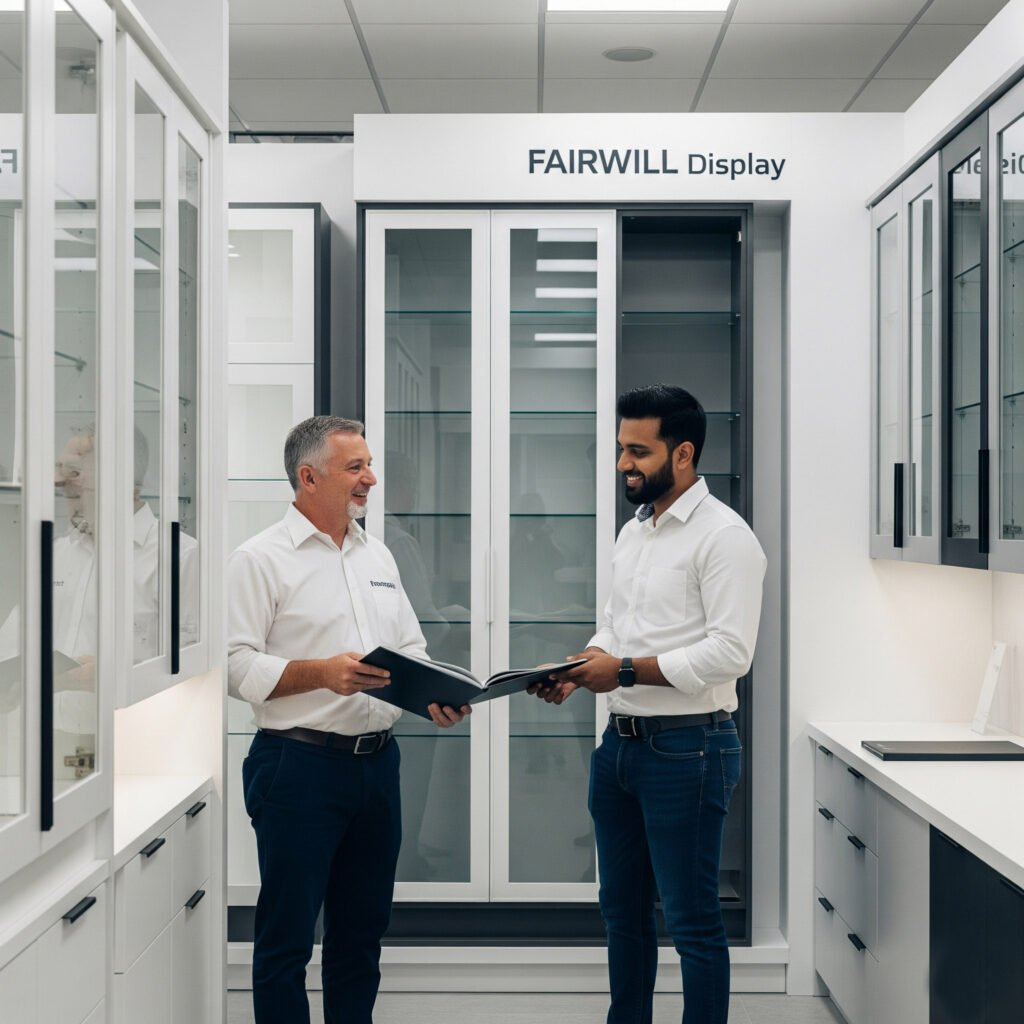

As a store fixture buyer, I need more than just low prices. I need a supplier who understands my business, supports my decisions, and delivers quality every time. That’s exactly why I chose Fairwill Display. Here’s what I’ve gained since working with them—and why I think they’re the right partner for you, too.
I Get Factory-Direct Prices with No Middlemen
Running a boutique or managing wholesale supply means every dollar counts. Fairwill Display gives me direct access to their factory in China, with no extra markups. They employ 50 skilled workers, and every product is made in-house. That means faster turnaround, better quality control, and—most importantly—much lower costs.
I no longer deal with brokers who inflate prices. When I need a custom slatwall or a glass showcase for a new client, I just contact Fairwill directly. They respond quickly and give me competitive quotes that help me win more business on my end.
I Receive Expert Guidance on Every Order
I’m not an engineer—I’m a buyer. That’s why Fairwill’s advice matters so much to me. When I asked for help choosing a display cabinet with tempered glass doors, their team walked me through the options. They explained the benefits of E1 grade boards, tempered safety glass, and durable aluminum frames in a way I could understand and trust.
Whether I order 5 units or 500, they treat me with the same level of care. They provide drawings, suggest improvements, and help me make decisions that fit my space and budget. I always feel like they’re on my team, not just making a sale.
I Can Customize Products to Fit My Market
In Sweden, store layouts are often compact and stylish. I needed display cases that matched local aesthetics—but were still affordable. Fairwill helped me customize the dimensions, choose specific finishes, and even modify lock systems to meet my customer preferences.
Instead of forcing me to accept off-the-shelf sizes, they offer real customization. They send me sample finishes and glass specs, so I can show my clients exactly what they’ll receive. That level of flexibility is rare and valuable.
I Trust the Quality Because They Use the Right Materials
Cheap display fixtures may look fine at first, but they break fast. I’ve had that experience before, and I won’t repeat it. That’s why I chose Fairwill. They use tempered glass, not cheap alternatives. Their shelving systems stay stable even after months of heavy use. Their boards meet E1 environmental standards, which matters to me and my eco-conscious customers.
Every product I receive is clean, solid, and ready to install. And if there’s ever an issue—which is rare—they respond fast and fix it. That kind of reliability gives me peace of mind.
I Always Feel Supported, Not Pressured
What I like most about Fairwill is their tone. They don’t push me to buy more than I need. They ask questions, offer ideas, and stay patient as I make decisions. If I need more time or want to test a sample order, they support that.
From first contact to final delivery, I feel like I’m working with a professional partner, not just a supplier. I can reach them through email, WhatsApp, or WeChat—and they usually reply within hours.
Ready to Work With Them? I Was Too.
If you’re looking for cost-effective, durable, and custom display fixtures—from glass showcases to slatwall merchandisers—you need to talk to Fairwill Display. They helped me grow my business without stretching my budget. They’ll do the same for you.
Send them an inquiry today. You’ll quickly see why I—and so many others—continue to trust them for every display need.
