Building a custom glass showcase can seem daunting, but it’s achievable with the right steps as we talked in this article. At Fairwill Display, we specialize in creating high-quality, affordable glass showcases for wholesalers worldwide, especially in the USA, Sweden, and Australia. Our glass showcases are known for their durability and aesthetic appeal, making them a favorite among store fixture suppliers and boutique store owners.
- Step 1: Understand Your Needs
Understanding your needs is the foundational step in building a custom glass showcase. This step sets the direction for the entire project and ensures that the final product meets your expectations and requirements.
Firstly, it’s important to define the purpose of your glass showcase. Ask yourself, what will this showcase display? The type of items you plan to display will significantly influence the design and structure of your showcase. For instance, if you’re displaying jewelry, you might need a smaller, more intricate design with specialized lighting to highlight the pieces. On the other hand, if you’re showcasing larger items like electronics, you’ll require a more robust and spacious design.
Next, consider the dimensions of the space where the showcase will be placed. Measure the available space carefully to ensure your showcase fits perfectly without overwhelming the area. Take into account the height, width, and depth. This is crucial because a showcase that is too large or too small can disrupt the flow of your store and make the space look cluttered or empty.
Transitioning from size to style, think about the overall aesthetic of your store. Your glass showcase should complement the existing decor and enhance the visual appeal of your space. If your store has a modern look, opt for sleek, minimalist designs with clean lines. Consider showcases with ornate details and rich finishes for a more traditional store.
Another key aspect to consider is the accessibility of the showcase. How easily can customers view and interact with the items inside? Accessibility is essential in a retail setting where customers’ ability to see and touch products can influence their purchasing decisions. Ensure that the showcase is designed in a way that allows for easy access while still protecting the items on display.
Furthermore, think about security features. If you are displaying valuable items, integrating locks and reinforced glass can provide additional security. This is especially important in areas with high foot traffic or where theft might be a concern. Ariel, for example, might need extra security features for his boutique store in Sweden to protect high-value merchandise.
Moreover, lighting is a critical component of any glass showcase. Proper lighting can enhance the visibility of your products and make them more appealing to customers. Consider incorporating LED lights, which are energy-efficient and can be strategically placed to highlight key areas of the showcase. The right lighting can make a significant difference in how your products are perceived.
Additionally, consider the material of the showcase. At Fairwill Display, we use E1 grade board and tempered glass to ensure durability and safety. The choice of materials will affect the longevity and maintenance of the showcase. Durable materials mean less frequent repairs and replacements, saving you money in the long run.
In summary, understanding your needs involves a comprehensive evaluation of various factors. Defining the purpose, considering dimensions and style, ensuring accessibility, integrating security features, planning lighting, and choosing the right materials are all critical steps. By thoroughly understanding your needs, you set a solid foundation for building a custom glass showcase that not only meets your requirements but also enhances the overall appeal and functionality of your store. This careful planning stage ensures that the final product is both practical and visually appealing, providing value to both you and your customers.
- Step 2: Choose the Right Materials
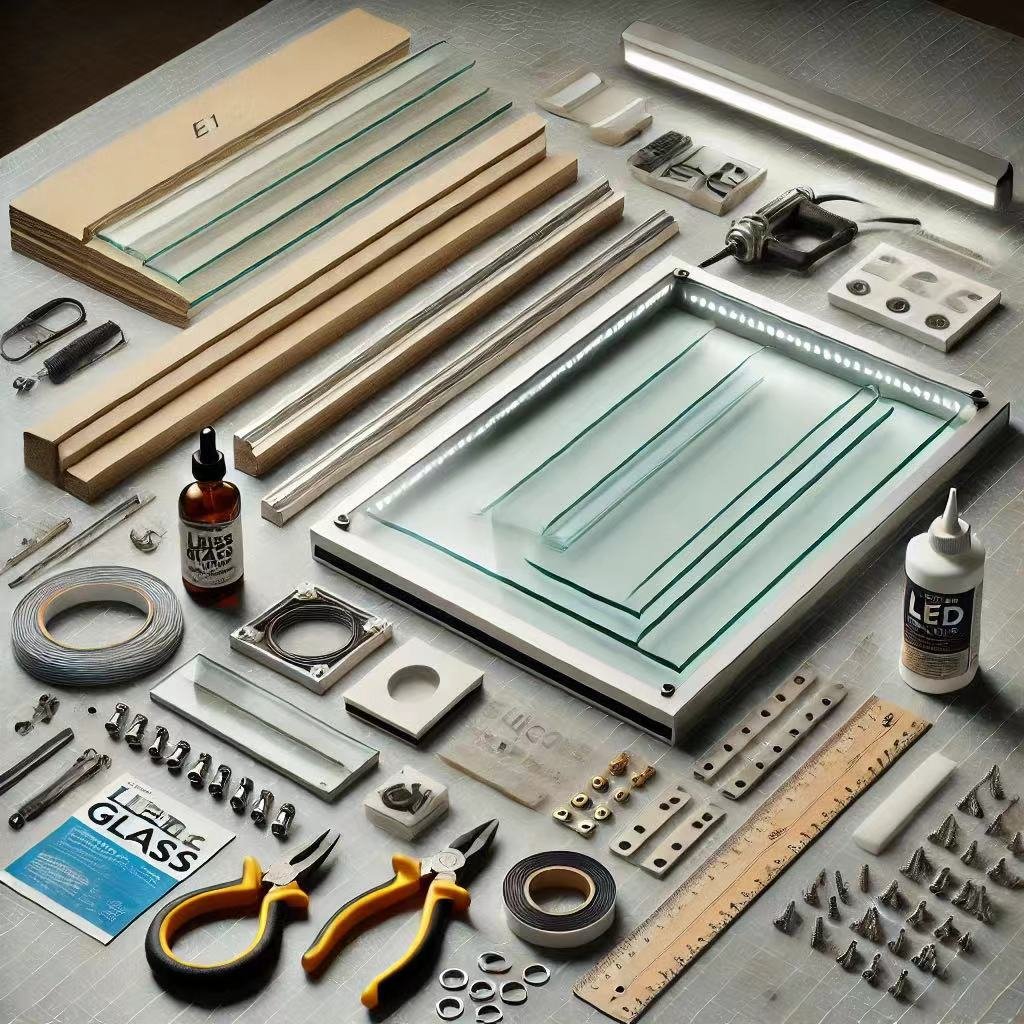
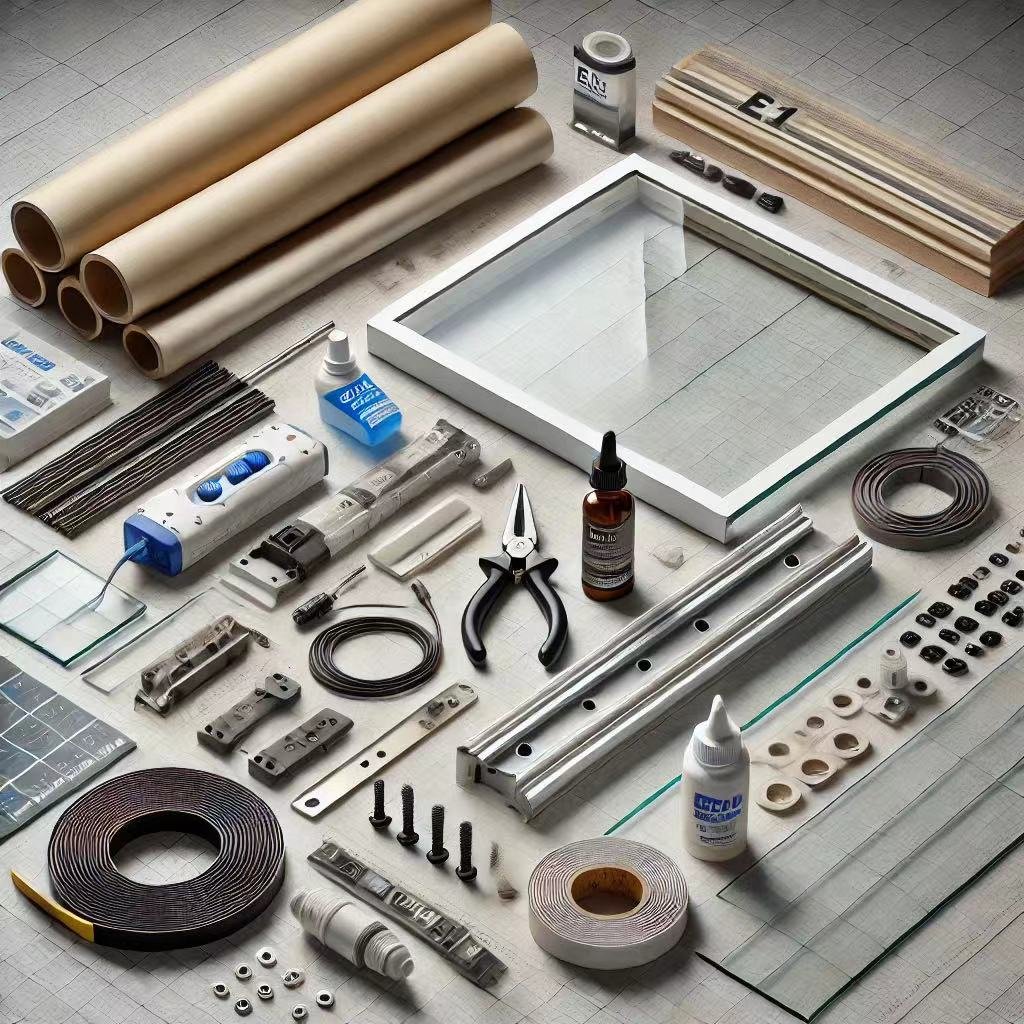
Choosing the right materials for your custom glass showcase is crucial for its durability, safety, and overall appearance. At Fairwill Display, we prioritize high-quality materials to ensure that our showcases meet the highest standards and satisfy our clients’ needs. The two primary materials used in our showcases are E1 grade board and tempered glass.
Firstly, let’s delve into the importance of using E1 grade board. E1 grade board is a type of engineered wood that adheres to stringent European standards for formaldehyde emissions. This means it is not only strong and durable but also environmentally friendly and safe for indoor use. The E1 grade board’s stability and strength make it an excellent choice for the framework of your glass showcase. It can withstand the weight of the glass and the items on display without warping or bending, ensuring that your showcase remains sturdy and reliable over time.
Transitioning to the selection of glass, we use tempered glass in our showcases. Tempered glass, also known as toughened glass, undergoes a special heat treatment process that increases its strength compared to regular glass. This process involves heating the glass to a high temperature and then rapidly cooling it. As a result, tempered glass becomes four to five times stronger than standard glass. This added strength is essential for the safety and durability of your showcase.
Moreover, tempered glass is designed to break differently from regular glass. In the event of breakage, it shatters into small, blunt pieces rather than sharp, jagged shards. This significantly reduces the risk of injury, making it a safer option for your store. Given its safety features, tempered glass is widely used in various applications, including storefronts, shower doors, and, of course, glass showcases. Its clarity and high light transmission also ensure that your products are displayed in the best possible light, attracting customers’ attention and enhancing their shopping experience.
Another aspect to consider is the thickness of the glass. The thickness you choose will depend on the size and design of your showcase. Thicker glass provides more strength and stability but can also add weight to the structure. It’s essential to find the right balance to ensure your showcase is both secure and easy to handle. At Fairwill Display, we typically recommend a glass thickness of 6-10mm for most showcases. This range offers a good combination of durability and manageability.
In addition to E1 grade board and tempered glass, there are other materials you might consider for specific parts of your showcase. For instance, using metal brackets and screws can provide additional support and stability to the frame. Rubber gaskets or silicone can be used to cushion the glass panels and prevent them from coming into direct contact with the frame, which can reduce the risk of damage. These materials, while not as prominent as the glass and board, play a crucial role in the overall construction and longevity of your showcase.
Finally, when selecting materials, it’s essential to consider the aesthetic appeal of your showcase. The materials should not only be functional but also contribute to the overall look and feel of your display. For instance, the finish of the E1 grade board can be customized to match the decor of your store. Whether you prefer a sleek, modern look or a more traditional design, choosing the right finish can enhance the visual impact of your showcase and complement your store’s aesthetic.
In conclusion, choosing the right materials is a foundational step in building a custom glass showcase. By opting for E1 grade board and tempered glass, you ensure that your showcase is durable, safe, and visually appealing. These materials, combined with thoughtful design and careful construction, will result in a showcase that not only meets but exceeds your expectations. At Fairwill Display, we are committed to using the best materials to create products that stand the test of time and enhance the shopping experience for customers around the world.
- Step 3: Design the Showcase
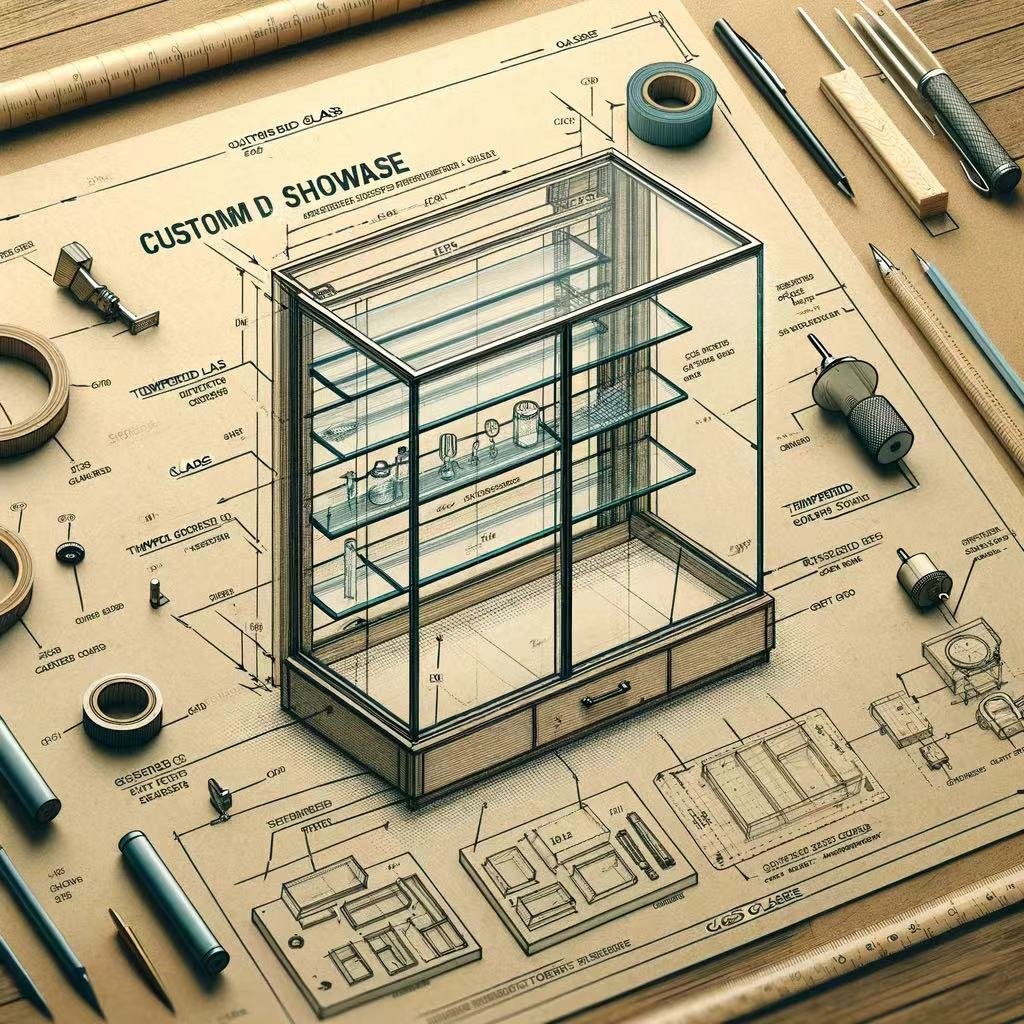

Designing your custom glass showcase is a crucial step that sets the foundation for the final product. This process requires a careful balance of aesthetics and functionality to ensure the showcase meets your specific needs while also enhancing the visual appeal of your store. At Fairwill Display, we understand that each customer has unique requirements, and we are here to guide you through the design process.
To start with, you need to define the primary purpose of the glass showcase. Are you planning to display jewelry, electronics, clothing, or other merchandise? The type of products will influence the design elements, such as the height, shelving configuration, and lighting. For instance, Ariel from Sweden, who frequently purchases from us, often requests showcases with adjustable shelving to accommodate various product sizes.
Next, consider the size and dimensions of the showcase. Measure the space where you intend to place the showcase to ensure it fits perfectly. Sketch out your design or use design software to create a detailed blueprint. Include all dimensions and specify the materials for each component. It’s essential to have a clear plan before you begin the construction process. This detailed preparation helps avoid mistakes and ensures that all parts fit together seamlessly.
In addition to the basic structure, think about the visual elements that will make your showcase stand out. The frame should be designed to complement the overall aesthetic of your store. Whether you prefer a modern, minimalist look or a more traditional style, the frame should enhance the appeal of the products on display. Ariel, for instance, prefers a sleek, modern frame that matches the contemporary design of his boutique store.
Furthermore, lighting plays a significant role in the design of your glass showcase. Proper lighting not only highlights the products but also adds to the overall ambiance of your store. Consider incorporating LED lights, which are energy-efficient and provide excellent illumination. You can place LED strips along the shelves or at the top of the showcase to ensure even lighting. Ariel often opts for warm LED lights to create a welcoming atmosphere in his store.
Another important aspect is the security features. Depending on the value of the items you plan to display, you may want to include locks or security glass. This is particularly important for stores that display high-value items such as jewelry or electronics. At Fairwill Display, we offer various security options to ensure your products are safe.
Additionally, think about the accessibility of the showcase. It should be easy for customers to view and, if appropriate, access the products. Consider the placement of doors or drawers and how they will be used in a retail environment. Ariel values showcases with sliding doors, which are convenient for both staff and customers.
Incorporating branding elements into your showcase design can also be beneficial. Adding your store’s logo or colors can reinforce your brand identity. This can be done through custom etching on the glass or by using colored frames and shelving.
Transitioning from the initial sketch to a detailed design, it’s essential to review your blueprint with all stakeholders involved. Gather feedback and make necessary adjustments. This collaborative approach ensures that the final design meets everyone’s expectations and requirements. At Fairwill Display, we work closely with our clients throughout the design process, providing expert advice and adjustments as needed.
Finally, before finalizing the design, consider the practicality and ease of maintenance. The materials and finishes you choose should be durable and easy to clean. This ensures that the showcase remains in excellent condition with minimal effort. For instance, tempered glass and E1 grade board are not only durable but also easy to maintain.
In conclusion, designing a custom glass showcase involves a blend of creativity and practicality. By carefully considering each element—from the basic structure to the finer details like lighting and security—you can create a showcase that not only meets your needs but also enhances the overall shopping experience for your customers. At Fairwill Display, we are committed to helping you design and build the perfect showcase for your store.
- Step 4: Cut the Glass


Cutting the glass is a critical and precise step in building your custom glass showcase. To ensure safety and accuracy, you must follow specific procedures and use the appropriate tools. At Fairwill Display, we prioritize quality and safety in every step, particularly in handling and cutting glass.
Preparing Your Workspace
First, prepare your workspace. A clean, flat, and stable surface is essential for cutting glass. Remove any clutter or debris that could interfere with the process. Lay down a non-slip mat to prevent the glass from sliding. Additionally, ensure your workspace is well-lit. Proper lighting helps you see the glass clearly, reducing the risk of errors. At Fairwill Display, our factory is equipped with state-of-the-art lighting and safety equipment to ensure precision and safety.
Safety Precautions
Safety is paramount when cutting glass. Wear protective gear, including safety goggles, gloves, and long sleeves. These items protect you from potential glass shards. Also, ensure that you have a first aid kit nearby in case of accidents. At Fairwill Display, our employees undergo rigorous safety training to handle glass responsibly.
Measuring and Marking
Accurate measurements are crucial for cutting glass. Use a measuring tape to measure the glass according to your design specifications. Double-check your measurements to avoid mistakes. Once you have the correct measurements, use a permanent marker or a grease pencil to mark the cutting lines on the glass. A straight edge or ruler can help you draw straight, precise lines. Ariel from Sweden, who values both cost and quality, knows the importance of precision in this step to ensure a perfect fit.
Scoring the Glass
Next, score the glass along the marked lines. A glass cutter is the primary tool for this task. The cutter has a small, hardened wheel that scores the surface of the glass. Hold the cutter firmly and apply consistent pressure as you drag it along the marked line. You should hear a slight scratching sound, which indicates the glass is being scored correctly. Avoid going over the same line multiple times, as this can lead to uneven cuts. At Fairwill Display, we use professional-grade glass cutters to achieve clean and accurate scores.
Snapping the Glass
After scoring, it’s time to snap the glass. Position the scored line over the edge of your workspace or a flat, raised surface. Apply gentle pressure on either side of the scored line to snap the glass along the score. The glass should break cleanly along the line. If it doesn’t, the score might not be deep enough, and you may need to rescore it. At Fairwill Display, we ensure each piece of glass snaps cleanly by using precise scoring techniques and high-quality tools.
Smoothing the Edges
Once the glass is cut, the edges may be sharp and uneven. Use a glass file or sandpaper to smooth the edges. This step is crucial to prevent injuries and ensure the glass fits snugly into the frame. Ariel appreciates a smooth, polished finish that enhances the overall appearance of his store fixtures. At Fairwill Display, we take extra care in this step to provide a safe and aesthetically pleasing product.
Quality Check
Finally, conduct a quality check on the cut glass. Inspect the edges for any remaining sharp spots and ensure the glass matches your design specifications. Any discrepancies at this stage can affect the assembly process and the final product’s quality. At Fairwill Display, our quality assurance team meticulously checks each piece of glass to ensure it meets our high standards.
Conclusion
In conclusion, cutting glass requires careful preparation, precise measurements, and proper tools. By following these steps, you can achieve clean, accurate cuts that will contribute to a high-quality custom glass showcase. At Fairwill Display, we pride ourselves on our expertise in glass cutting and our commitment to safety and quality. Whether you’re in the USA, Sweden, or Australia, our glass showcases are crafted with precision and care to meet your needs.
- Step 5: Assemble the Frame

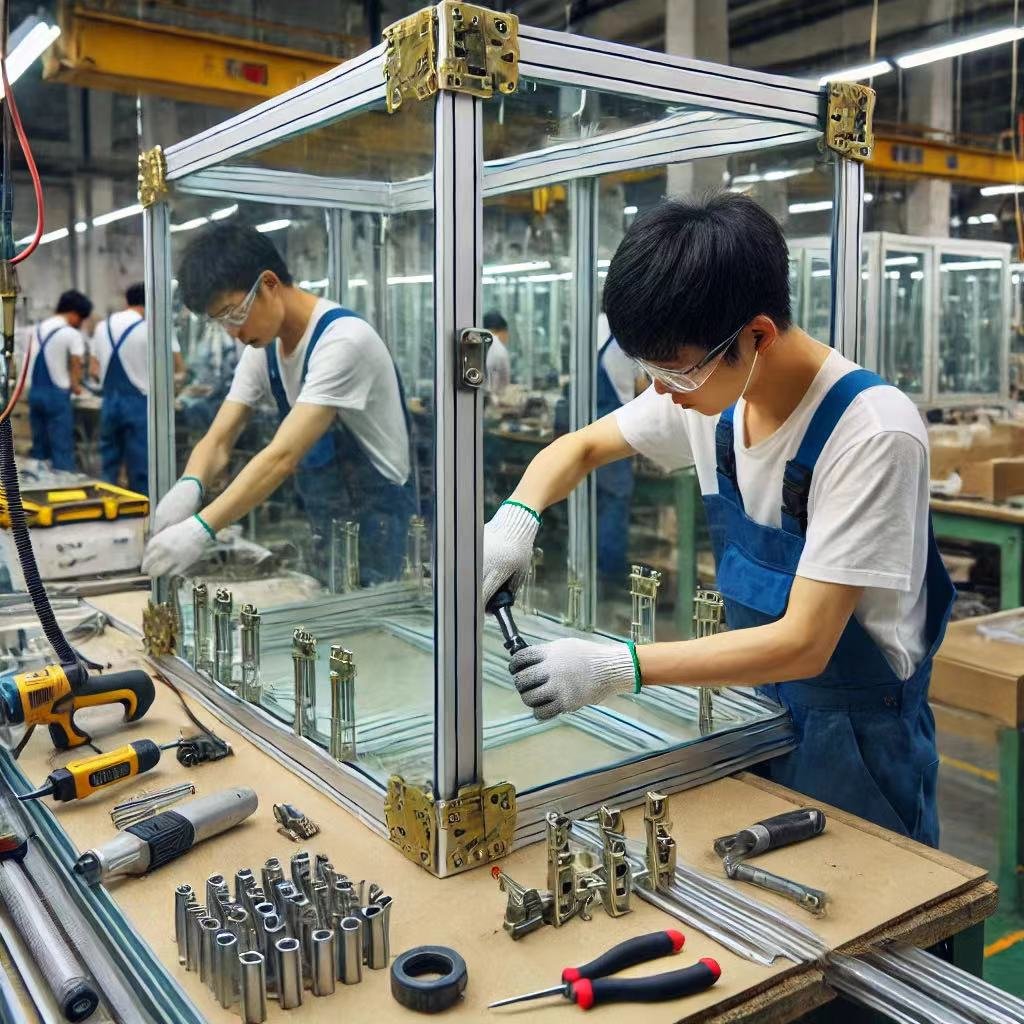
Assembling the frame is a crucial step in building a custom glass showcase. This step requires precision and attention to detail to ensure the frame is sturdy and durable. At Fairwill Display, we use E1 grade board for our frames, known for its strength and environmental friendliness. Here’s how you can assemble the frame for your glass showcase.
Firstly, gather all the necessary materials. You will need the pre-cut E1 grade boards, screws, brackets, a drill, and a screwdriver. Make sure you have all these materials within reach before you start. This will make the process smoother and more efficient.
Begin by laying out the boards on a flat surface. Ensure you have the correct pieces for the base, sides, top, and back of the frame. Double-check the measurements to make sure everything aligns perfectly. Precision is key here; any misalignment can affect the stability of the entire showcase.
Next, start with the base and one side panel. Align them at a right angle and use a bracket to secure them together. Drill pilot holes for the screws to prevent the wood from splitting. Once the holes are drilled, insert the screws and tighten them securely. This ensures a strong connection between the base and the side panel.
After securing one side panel, repeat the process with the other side panel. Ensure both side panels are perfectly perpendicular to the base. Use a carpenter’s square to check the angles. This step is crucial to ensure the frame is square and stable.
With the side panels attached, you can now add the top panel. Align it with the tops of the side panels and secure it with brackets and screws. Again, drill pilot holes before inserting the screws. This will keep the wood intact and ensure a tight fit.
Now, attach the back panel. This panel provides additional support and stability to the frame. Position it at the back and secure it using screws. Make sure the back panel is flush with the sides and the top. A well-secured back panel will make the frame more robust.
Once the main structure is assembled, reinforce the joints with additional brackets if needed. This is especially important if the showcase will hold heavy items. Reinforcing the joints ensures the frame can support the weight without collapsing.
After reinforcing the joints, inspect the frame for any gaps or misalignments. Use a level to check that all parts of the frame are straight and even. If you find any issues, make adjustments before proceeding. It’s easier to fix problems at this stage than after the glass is installed.
Transitioning to the next step, sanding the edges of the frame is essential. Smooth edges not only improve the appearance but also reduce the risk of injury. Use fine-grit sandpaper to sand down any rough or sharp edges. This step also helps the finish adhere better if you plan to paint or stain the frame.
Once the edges are smooth, clean the frame to remove any dust or debris. A clean surface is crucial for the next steps, ensuring that any adhesives or finishes adhere properly. Wipe down the frame with a damp cloth and let it dry completely before moving on.
With the frame assembled and prepared, you are now ready to move to the next step: installing the glass. A well-constructed frame provides a solid foundation for the glass panels, ensuring they are secure and stable. This careful preparation reflects the quality and durability that Fairwill Display stands for.
Assembling the frame may seem like a straightforward task, but it requires precision and care. By following these steps and paying attention to detail, you can create a strong and reliable foundation for your custom glass showcase. At Fairwill Display, we take pride in guiding our clients through each step, ensuring they achieve the best results.
- Step 6: Install the Glass


Installing the glass panels is a critical step in building a custom glass showcase. This process requires precision, care, and attention to detail to ensure the final product is both functional and aesthetically pleasing.
First, gather all the necessary materials for the installation. These include the glass panels, rubber gaskets or silicone, mounting hardware, and protective gloves. Using the right materials is crucial for ensuring the safety and longevity of your glass showcase. At Fairwill Display, we recommend using high-quality rubber gaskets or silicone to cushion the glass and prevent direct contact with the frame. This minimizes the risk of damage due to vibrations or slight movements.
Next, prepare the frame for the glass installation. Ensure that the frame is clean and free of any debris. Any dirt or particles left in the frame can cause the glass to not sit properly, leading to potential cracks or misalignments. If you are using a silicone sealant, apply a thin, even layer along the edges of the frame where the glass will rest. This creates a cushion for the glass and helps to secure it in place.
Once the frame is prepared, carefully position the glass panel. It’s best to have a second person assist with this step to ensure safety and precision. Hold the glass panel at an angle and gently lower it into the frame. Ensure that the panel is aligned correctly and fits snugly within the frame. If using rubber gaskets, place them between the glass and the frame to provide additional cushioning.
After positioning the glass, secure it in place using the appropriate mounting hardware. This may include clips, brackets, or screws, depending on the design of your showcase. Tighten the hardware gently to avoid putting too much pressure on the glass, which could cause it to crack. Ensure that the glass is firmly secured and that there are no loose or wobbly sections.
Once the glass is secured, check for any gaps or misalignments. It’s essential to address these issues immediately to prevent future problems. If you notice any gaps, apply a small amount of silicone sealant to fill them in. For misalignments, gently adjust the glass or the frame until everything is in proper alignment.
After securing the glass and addressing any gaps or misalignments, allow the silicone sealant to cure fully. This usually takes 24 to 48 hours, depending on the product used. Avoid moving or placing any weight on the showcase during this time to ensure the sealant sets properly.
During the curing process, take the opportunity to clean the glass thoroughly. Use a non-abrasive glass cleaner and a soft cloth to remove any fingerprints, smudges, or dust. This ensures that your showcase looks its best once it’s ready for use. At Fairwill Display, we emphasize the importance of maintaining a clean and professional appearance for all our products.
In conclusion, installing the glass panels in your custom showcase requires careful preparation, precise positioning, and secure fastening. By following these steps and paying attention to detail, you can ensure that your showcase is both functional and visually appealing. At Fairwill Display, we commit to helping our clients create beautiful and durable glass showcases for their stores by providing high-quality products and support. Whether you are in the USA, Sweden, or Australia, our team is here to assist you every step of the way.
- Step 7: Add Finishing Touches

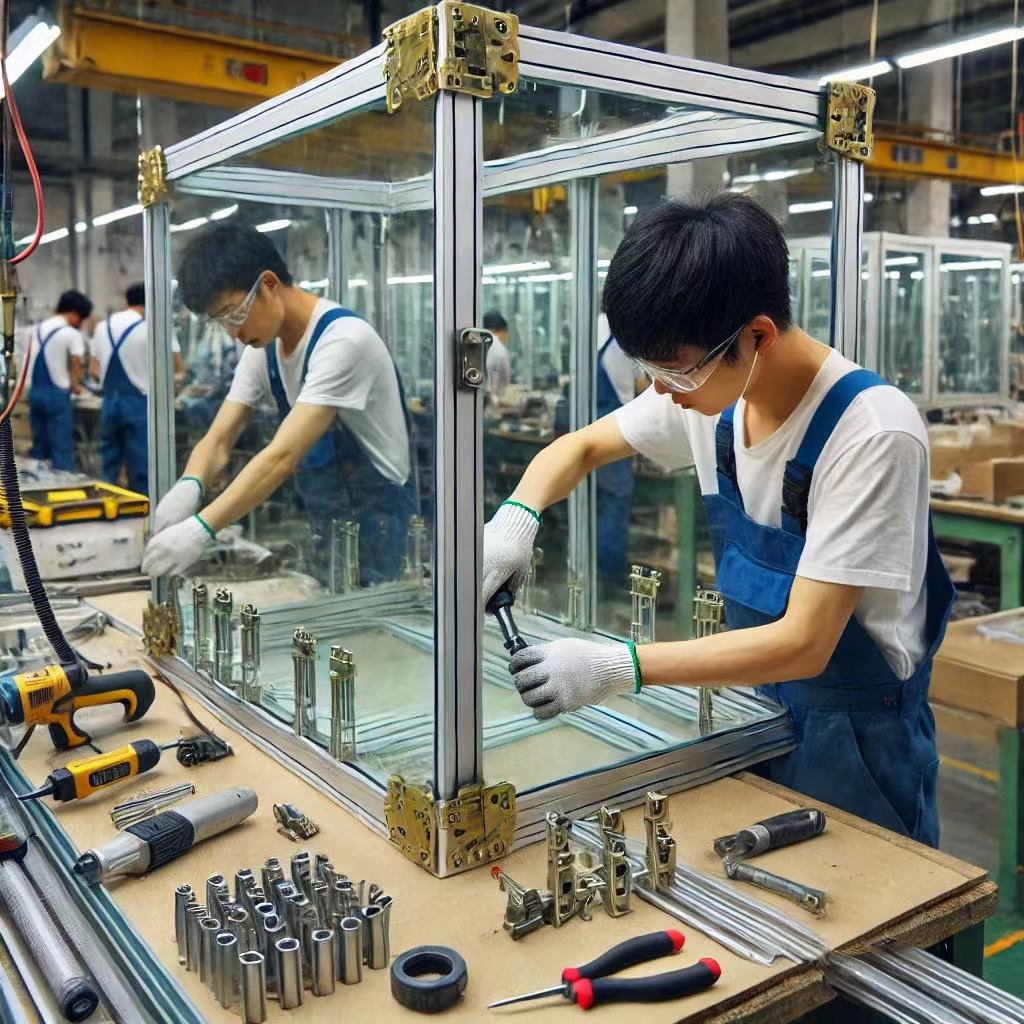
Adding finishing touches to your custom glass showcase can significantly enhance its appearance and functionality. This step allows you to personalize your showcase, making it a unique reflection of your store’s brand and style. At Fairwill Display, we understand the importance of these final details and offer various options to suit different preferences and needs.
Firstly, consider incorporating lighting into your glass showcase. Proper lighting can highlight the items on display, making them more attractive to potential customers. LED lights are a popular choice due to their energy efficiency and long lifespan. They come in various colors and intensities, allowing you to create the perfect ambiance for your store. For instance, Ariel, our client from Sweden, prefers warm white LEDs, which create a cozy and inviting atmosphere in his boutique store. To install LED lights, place them strategically along the top or sides of the showcase to ensure even illumination.
Next, think about adding decorative elements that complement your store’s theme. This could include custom moldings, trims, or even decals. These elements can add a touch of elegance or a modern flair, depending on your desired look. Ariel, who runs a boutique store, often chooses sleek, minimalistic trims to maintain a clean and contemporary appearance. On the other hand, if your store has a more traditional or vintage theme, ornate moldings can add a classic charm to your showcase.
Moreover, consider the hardware used in your showcase. High-quality handles, locks, and hinges not only ensure the functionality of your showcase but also contribute to its overall aesthetic. Stainless steel or brushed nickel hardware can give a modern and professional look, while brass or antique finishes may suit a more vintage or rustic style better. Ensure that the hardware is durable and easy to use, enhancing both the security and accessibility of your showcase.
Transitioning to the interior of the showcase, the use of shelving can greatly impact the display’s effectiveness. Adjustable shelves offer flexibility, allowing you to rearrange the space based on the size and type of items you are displaying. At Fairwill Display, we recommend using tempered glass shelves for their strength and transparency, which do not obstruct the view of the items. Additionally, consider adding small, discreet labels or tags on the shelves to provide information about the displayed products, making it easier for customers to understand what they are looking at.
Incorporating organizational features such as drawers or compartments can also enhance the functionality of your glass showcase. These features allow for better organization of smaller items or accessories, ensuring that everything is neatly arranged and easily accessible. For example, Ariel finds drawers particularly useful for storing additional stock or small accessories, keeping his display tidy and uncluttered.
To further personalize your showcase, you might want to add branding elements. This could include your store’s logo, brand colors, or even a tagline. These branding elements help reinforce your store’s identity and make your showcase instantly recognizable. At Fairwill Display, we offer custom branding options to ensure your showcase aligns perfectly with your store’s image.
Finally, it’s important to consider the overall balance and symmetry of your showcase. Arrange the items in a way that is visually pleasing and draws attention to key products. Use symmetry to create a harmonious look, or opt for an asymmetrical arrangement to add interest and variety. Ariel often uses a combination of both, placing larger items in the center and smaller items on the sides to create a balanced yet dynamic display.
In conclusion, adding finishing touches to your glass showcase is a vital step that can transform a simple display into a captivating centerpiece in your store. By incorporating lighting, decorative elements, high-quality hardware, adjustable shelving, organizational features, branding, and careful arrangement, you can create a showcase that not only displays your products effectively but also enhances your store’s overall aesthetic.
- Step 8: Quality Check


Conducting a thorough quality check is an essential step in the process of building a custom glass showcase. This step ensures that your showcase meets the highest standards of safety, durability, and aesthetic appeal. At Fairwill Display, we understand that our clients, like Ariel from Sweden, rely on us to deliver top-quality products. Therefore, we take quality control very seriously.
First, inspect the overall structure of the showcase. Begin by checking the frame for stability and sturdiness. Ensure that all joints and connections are secure and that the frame can support the weight of the glass panels and the items to be displayed. This is particularly important for larger showcases, which may be subject to more stress. For example, Ariel’s boutique store often displays heavy items, so the integrity of the frame is crucial.
Next, examine the glass panels closely. Look for any scratches, cracks, or imperfections that might compromise the showcase’s appearance or safety. Tempered glass, which we use at Fairwill Display, should be free from defects and able to withstand significant force without breaking. If you find any damaged panels, replace them immediately to maintain the quality and safety of the showcase. Additionally, ensure that the edges of the glass are smooth and free of sharp points, reducing the risk of injury during installation and use.
Furthermore, check the alignment of the glass panels within the frame. They should fit snugly without any gaps or misalignments. This ensures not only a clean and professional look but also the structural integrity of the showcase. Misaligned panels can lead to instability and increase the risk of damage. At Fairwill Display, we use precision tools to ensure that all panels are perfectly aligned during assembly.
In addition to inspecting the glass and frame, it is essential to test the functionality of all moving parts. This includes doors, drawers, hinges, and locks. Make sure that doors open and close smoothly without any resistance or noise. Drawers should slide effortlessly, and locks should engage and disengage without difficulty. For Ariel, who values both functionality and aesthetics, these details are critical. Ensuring smooth operation enhances the user experience and contributes to the overall quality of the showcase.
Moreover, verify the stability of the entire structure once the glass panels and hardware are installed. Place the showcase on a flat surface and gently push or shake it to check for any wobbling or instability. A stable showcase is less likely to tip over or move unexpectedly, providing a safer environment for both customers and staff. At Fairwill Display, we prioritize stability to ensure that our showcases meet the highest safety standards.
Transitioning to the interior, inspect the shelving and any organizational features you have added. Ensure that shelves are level and securely fastened, capable of supporting the weight of the displayed items. Adjustable shelves should move easily and lock into place firmly. Additionally, check any drawers or compartments for proper alignment and ease of use. Ariel often finds these features useful for organizing his store’s inventory, so their functionality is paramount.
Lighting is another critical aspect to review during the quality check. Test all installed lights to ensure they are functioning correctly and providing adequate illumination. Check for any flickering or dim spots, and replace any faulty bulbs or fixtures. Proper lighting enhances the visibility of displayed items and contributes to the overall appeal of the showcase. Ariel prefers warm, consistent lighting to create an inviting atmosphere in his store.
Finally, perform a visual inspection of the entire showcase. Look for any blemishes, marks, or inconsistencies in the finish. A visually appealing showcase attracts customers and enhances the overall shopping experience. At Fairwill Display, we take pride in delivering showcases that not only function well but also look stunning.
In conclusion, a comprehensive quality check is vital to ensuring that your custom glass showcase meets the highest standards. By inspecting the structure, glass panels, moving parts, stability, shelving, lighting, and overall appearance, you can be confident that your showcase will be safe, durable, and visually appealing. At Fairwill Display, we are committed to excellence in every aspect of our products, helping our clients like Ariel from Sweden achieve the perfect display for their stores.
- Step 9: Installation
Installing your custom glass showcase is a crucial step that requires careful planning and execution. The correct placement and secure installation of the showcase ensure it not only looks great but also serves its intended purpose effectively. At Fairwill Display, we emphasize the importance of this step to maximize the impact of your display.
Firstly, you need to determine the optimal location for your glass showcase. Consider areas with high foot traffic in your store, such as near the entrance or along the main aisle. These spots attract the most attention and are ideal for showcasing your best products. For instance, Ariel, our client from Sweden, places his showcase near the entrance of his boutique store to immediately catch the eye of entering customers. Additionally, ensure that the chosen location does not obstruct the flow of movement within the store and allows easy access for customers to view the items.
Once you have identified the perfect spot, the next step is to prepare the area. Ensure the floor is level and clean, as an uneven surface can affect the stability of the showcase. It’s also important to measure the space accurately to confirm that the showcase fits perfectly without any gaps or overlaps. At Fairwill Display, we advise our clients to double-check these measurements to avoid any installation issues.
Transitioning to the actual installation, begin by assembling the base of the showcase. Follow the manufacturer’s instructions carefully to ensure each component is correctly fitted. Use a spirit level to check that the base is perfectly horizontal. Secure the base to the floor if necessary, especially if the showcase is tall or heavy, to prevent it from tipping over. Ariel prefers to anchor his showcase to the floor for added stability, given the high volume of traffic in his store.
Next, proceed to install the glass panels. Handle the glass with care to avoid any damage or injury. Use suction cups or gloves to hold and position the glass panels securely. Insert the glass into the frame, ensuring it sits firmly without any wobble. Use rubber gaskets or silicone sealant to cushion the glass and provide additional support. This step is crucial to prevent the glass from rattling or shifting over time. At Fairwill Display, our team ensures that each glass panel is installed with precision, guaranteeing a snug and secure fit.
After the glass panels are in place, it’s time to attach the doors and other movable parts. Ensure the hinges are properly aligned and the doors open and close smoothly. Adjust the hinges if necessary to eliminate any gaps. Secure the locks and handles, ensuring they are functional and easy to use. For Ariel, having smooth-operating doors and reliable locks is essential to provide customers with easy access to the products while ensuring security after hours.
Transitioning to the finishing touches, check the overall stability of the showcase. Ensure that all screws and brackets are tightly secured and that the showcase does not wobble. Use a spirit level to confirm that the showcase is perfectly vertical and aligned. Make any necessary adjustments to achieve a stable and balanced installation. At Fairwill Display, we conduct a final stability check to ensure the showcase is safe and secure.
Once the installation is complete, clean the glass panels thoroughly to remove any fingerprints or smudges. Use a glass cleaner and a soft cloth to achieve a streak-free finish. This final cleaning step ensures that your showcase looks pristine and ready to display your products. Ariel always ensures that his showcase is spotless, as clean glass enhances the visibility and appeal of the items inside.
Finally, arrange your products inside the showcase. Consider the placement and grouping of items to create an attractive and organized display. Use lighting to highlight key products and draw attention to specific areas. At Fairwill Display, we advise our clients on effective product arrangement techniques to maximize the impact of their displays.
In conclusion, the installation of your custom glass showcase is a critical step that demands careful attention to detail. By selecting the optimal location, preparing the area, assembling the base and glass panels, attaching doors, ensuring stability, and arranging products thoughtfully, you can create a stunning display that enhances your store’s appeal. At Fairwill Display, we are committed to helping our clients achieve a seamless and successful installation, ensuring their showcases are not only functional but also visually captivating.
- Step 10: Maintenance
Proper maintenance of your glass showcase is essential to keep it looking its best and functioning effectively. At Fairwill Display, we believe that regular upkeep can significantly extend the lifespan of your showcase and ensure that it continues to attract customers. Here are some detailed tips on maintaining your glass showcase.
Firstly, regular cleaning is crucial. Dust and fingerprints can quickly accumulate on glass surfaces, diminishing the overall appearance of your showcase. Use a soft, lint-free cloth and a gentle glass cleaner to wipe down the glass panels. Avoid using abrasive materials or harsh chemicals, as these can scratch or damage the glass. For daily maintenance, a mixture of water and mild soap can be effective. Spray the solution onto the cloth rather than directly onto the glass to prevent drips and streaks. For Ariel, our client in Sweden, this routine ensures his showcase remains pristine and inviting.
In addition to cleaning the glass, it’s important to keep the frame and hardware in good condition. Depending on the material of your showcase frame, different cleaning methods may be required. For metal frames, a damp cloth and mild cleaner can remove dirt and grime. Wooden frames may need a specialized wood cleaner or polish to maintain their finish. Regularly check the screws and fittings to ensure they are tight and secure. Loose hardware can lead to instability and potential damage. At Fairwill Display, we recommend a monthly inspection to address any minor issues before they become major problems.
Moreover, lighting maintenance is essential. If your showcase includes LED lights or other lighting elements, ensure they are functioning correctly. Dust can accumulate on light fixtures, reducing their brightness and effectiveness. Clean the lights regularly and replace any burnt-out bulbs promptly. Ensuring proper lighting maintenance will keep your products well-illuminated and appealing to customers. Ariel finds that well-maintained lighting significantly enhances the visual appeal of his products.
Another aspect of maintenance is the condition of the shelving. Over time, shelves may become scratched or damaged. Inspect the shelves regularly and replace any that are compromised. Adjustable shelves should be checked to ensure they are still secure and level. At Fairwill Display, we provide high-quality tempered glass shelves that are durable and easy to maintain. However, regular checks are still necessary to ensure they remain in top condition.
Furthermore, consider the environmental factors that can affect your showcase. Humidity and temperature fluctuations can impact both the glass and the frame. Ensure your store has a stable climate to prevent condensation or warping. If your store is located in a particularly humid area, a dehumidifier can help maintain optimal conditions for your showcase. Ariel, based in Sweden, ensures his store’s climate is controlled to protect his displays.
Transitioning to organizational maintenance, it’s important to keep the interior of the showcase neat and well-arranged. Regularly reorganize the displayed items to keep the showcase looking fresh and engaging. Rotate products and update displays to reflect seasonal trends or new arrivals. This not only maintains the showcase’s appeal but also encourages repeat customers to see what’s new.
Additionally, pay attention to the overall security of your showcase. Regularly check the locks and hinges to ensure they are functioning correctly. If your showcase is in a high-traffic area, consider additional security measures such as surveillance cameras or alarm systems. At Fairwill Display, we understand the importance of protecting your valuable merchandise and can provide advice on the best security options for your showcase.
Finally, keep detailed records of your maintenance activities. This includes cleaning schedules, inspections, and any repairs or replacements. Having a maintenance log helps you stay organized and ensures that no aspect of your showcase’s upkeep is overlooked. Ariel maintains a simple spreadsheet to track his maintenance tasks, ensuring his showcase remains in excellent condition.
In conclusion, proper maintenance of your glass showcase involves regular cleaning, inspection, and addressing any issues promptly. By following these steps, you can ensure your showcase remains attractive and functional for years to come. At Fairwill Display, we are committed to helping our clients maintain their showcases, providing guidance and support every step of the way. Whether you’re in the USA, Sweden, or Australia, our tips can help you keep your showcase in top shape, attracting customers and showcasing your products effectively.
- Conclusion
Building a custom glass showcase involves careful planning and attention to detail. By understanding your needs, choosing the right materials, and following these steps, you can create a showcase that enhances your store’s appeal. At Fairwill Display, we are committed to helping our clients create beautiful, functional showcases. Whether you’re in the USA, Sweden, or Australia, we are here to support you.
- About Fairwill Display
Fairwill Display is a China-based company specializing in high-quality glass showcases. We cater to wholesalers worldwide, with a focus on the USA, Sweden, and Australia. Our products are known for their affordability, quality, and durability. With our factory and a team of 50 dedicated employees, we ensure each showcase meets our clients’ specific needs. Contact us today to learn more about how we can help you build the perfect glass showcase for your store.
